A 3D print modeler does one job: build a watertight, properly scaled, manifold 3D mesh that a printer can actually slice and produce. Sounds simple. It rarely is.
Most prints fail before the printer ever turns on. Walls too thin, geometry that looks fine on screen but has hidden holes, overhangs nobody thought about, support structures that scar the visible faces. By the time the file reaches the slicer, the modeling decisions have already locked in success or failure.
This page describes what we model for 3D printing, where our scope ends, and what to send us if you want a usable file.
What we mean by 3D print modeling
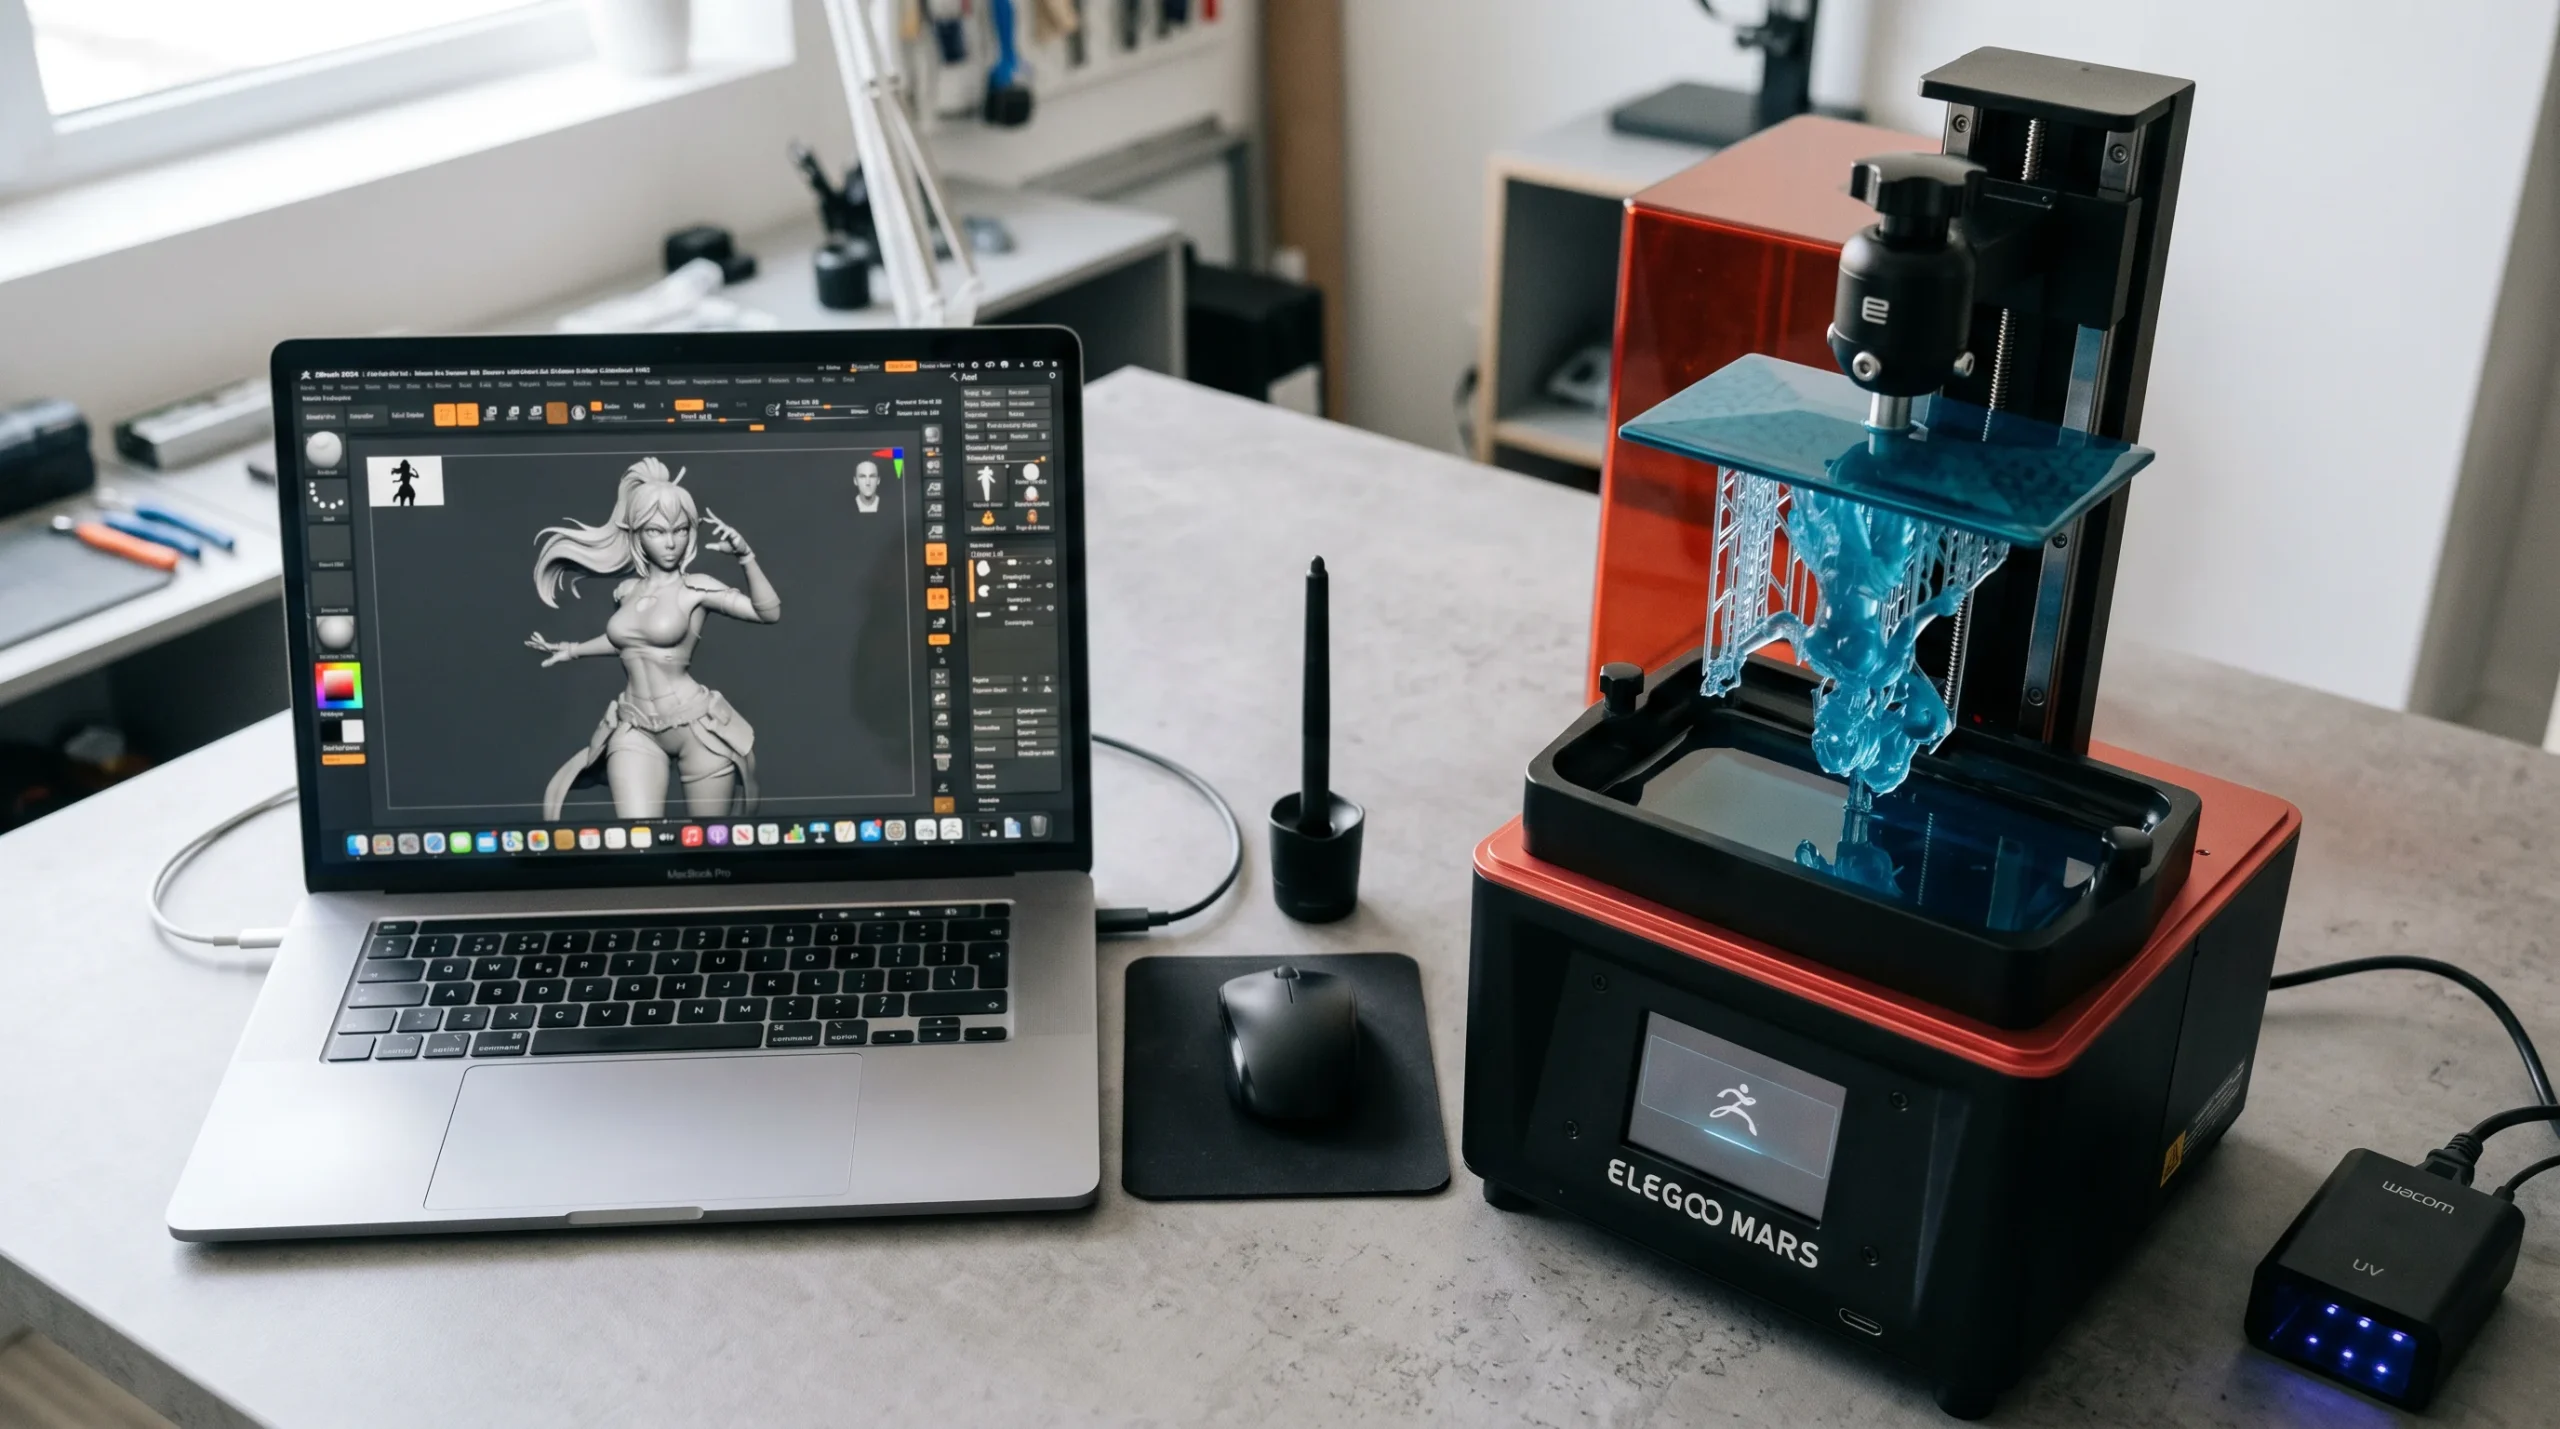
Inside our studio, “3D modeling for 3D printing” covers the design-side modeling work. Characters, figurines, decorative pieces, prototype geometry, props, organic forms — anything where the brief is “build this so it prints cleanly.” We use ZBrush, Blender, 3ds Max, and SolidWorks depending on what the object actually is.
It’s a secondary offering for us, not the bulk of our work. Architectural visualization and product CGI carry the studio. But across 1,500+ projects we’ve modeled enough printable geometry to know what wrecks a print and what survives the build plate.
What we model — and what we don’t
Honest scope is faster than discovering halfway through that nobody’s on the same page. Here’s the split:
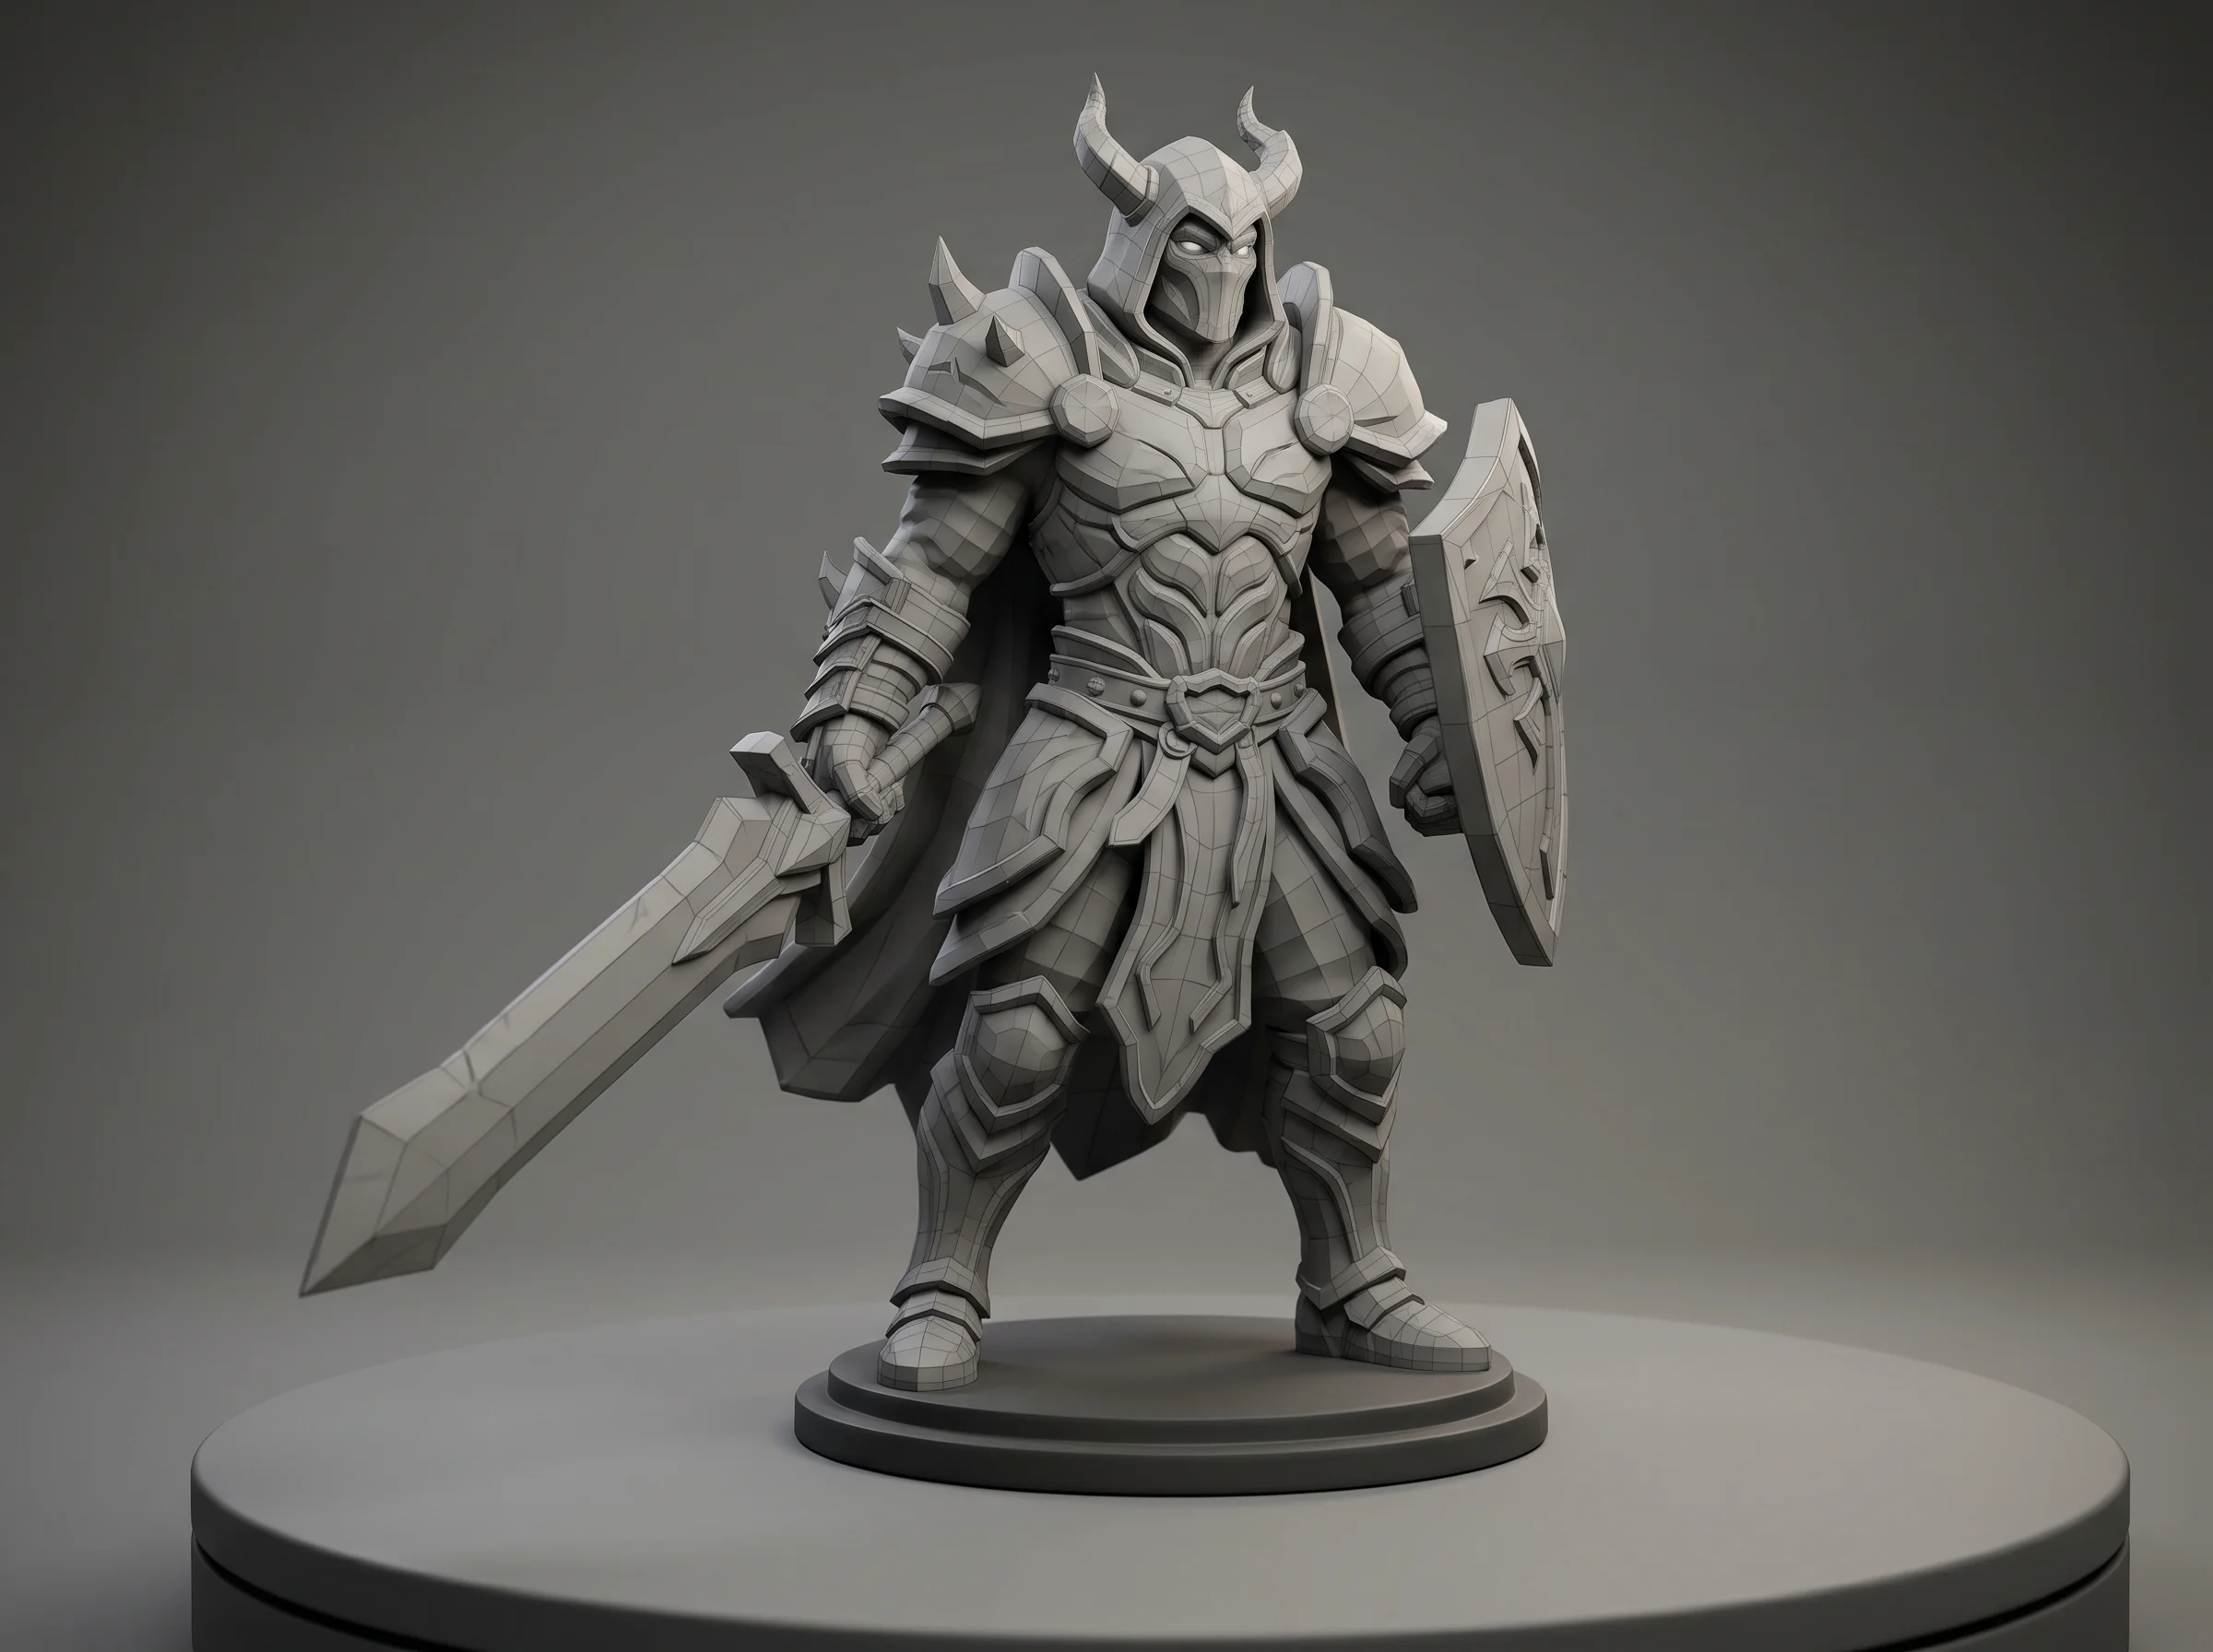
- In scope: character models and figurines (stylized or realistic), decorative objects, sculptural pieces, prototype shells and concept geometry, organic forms, hobbyist commissions, design translations from sketch or reference.
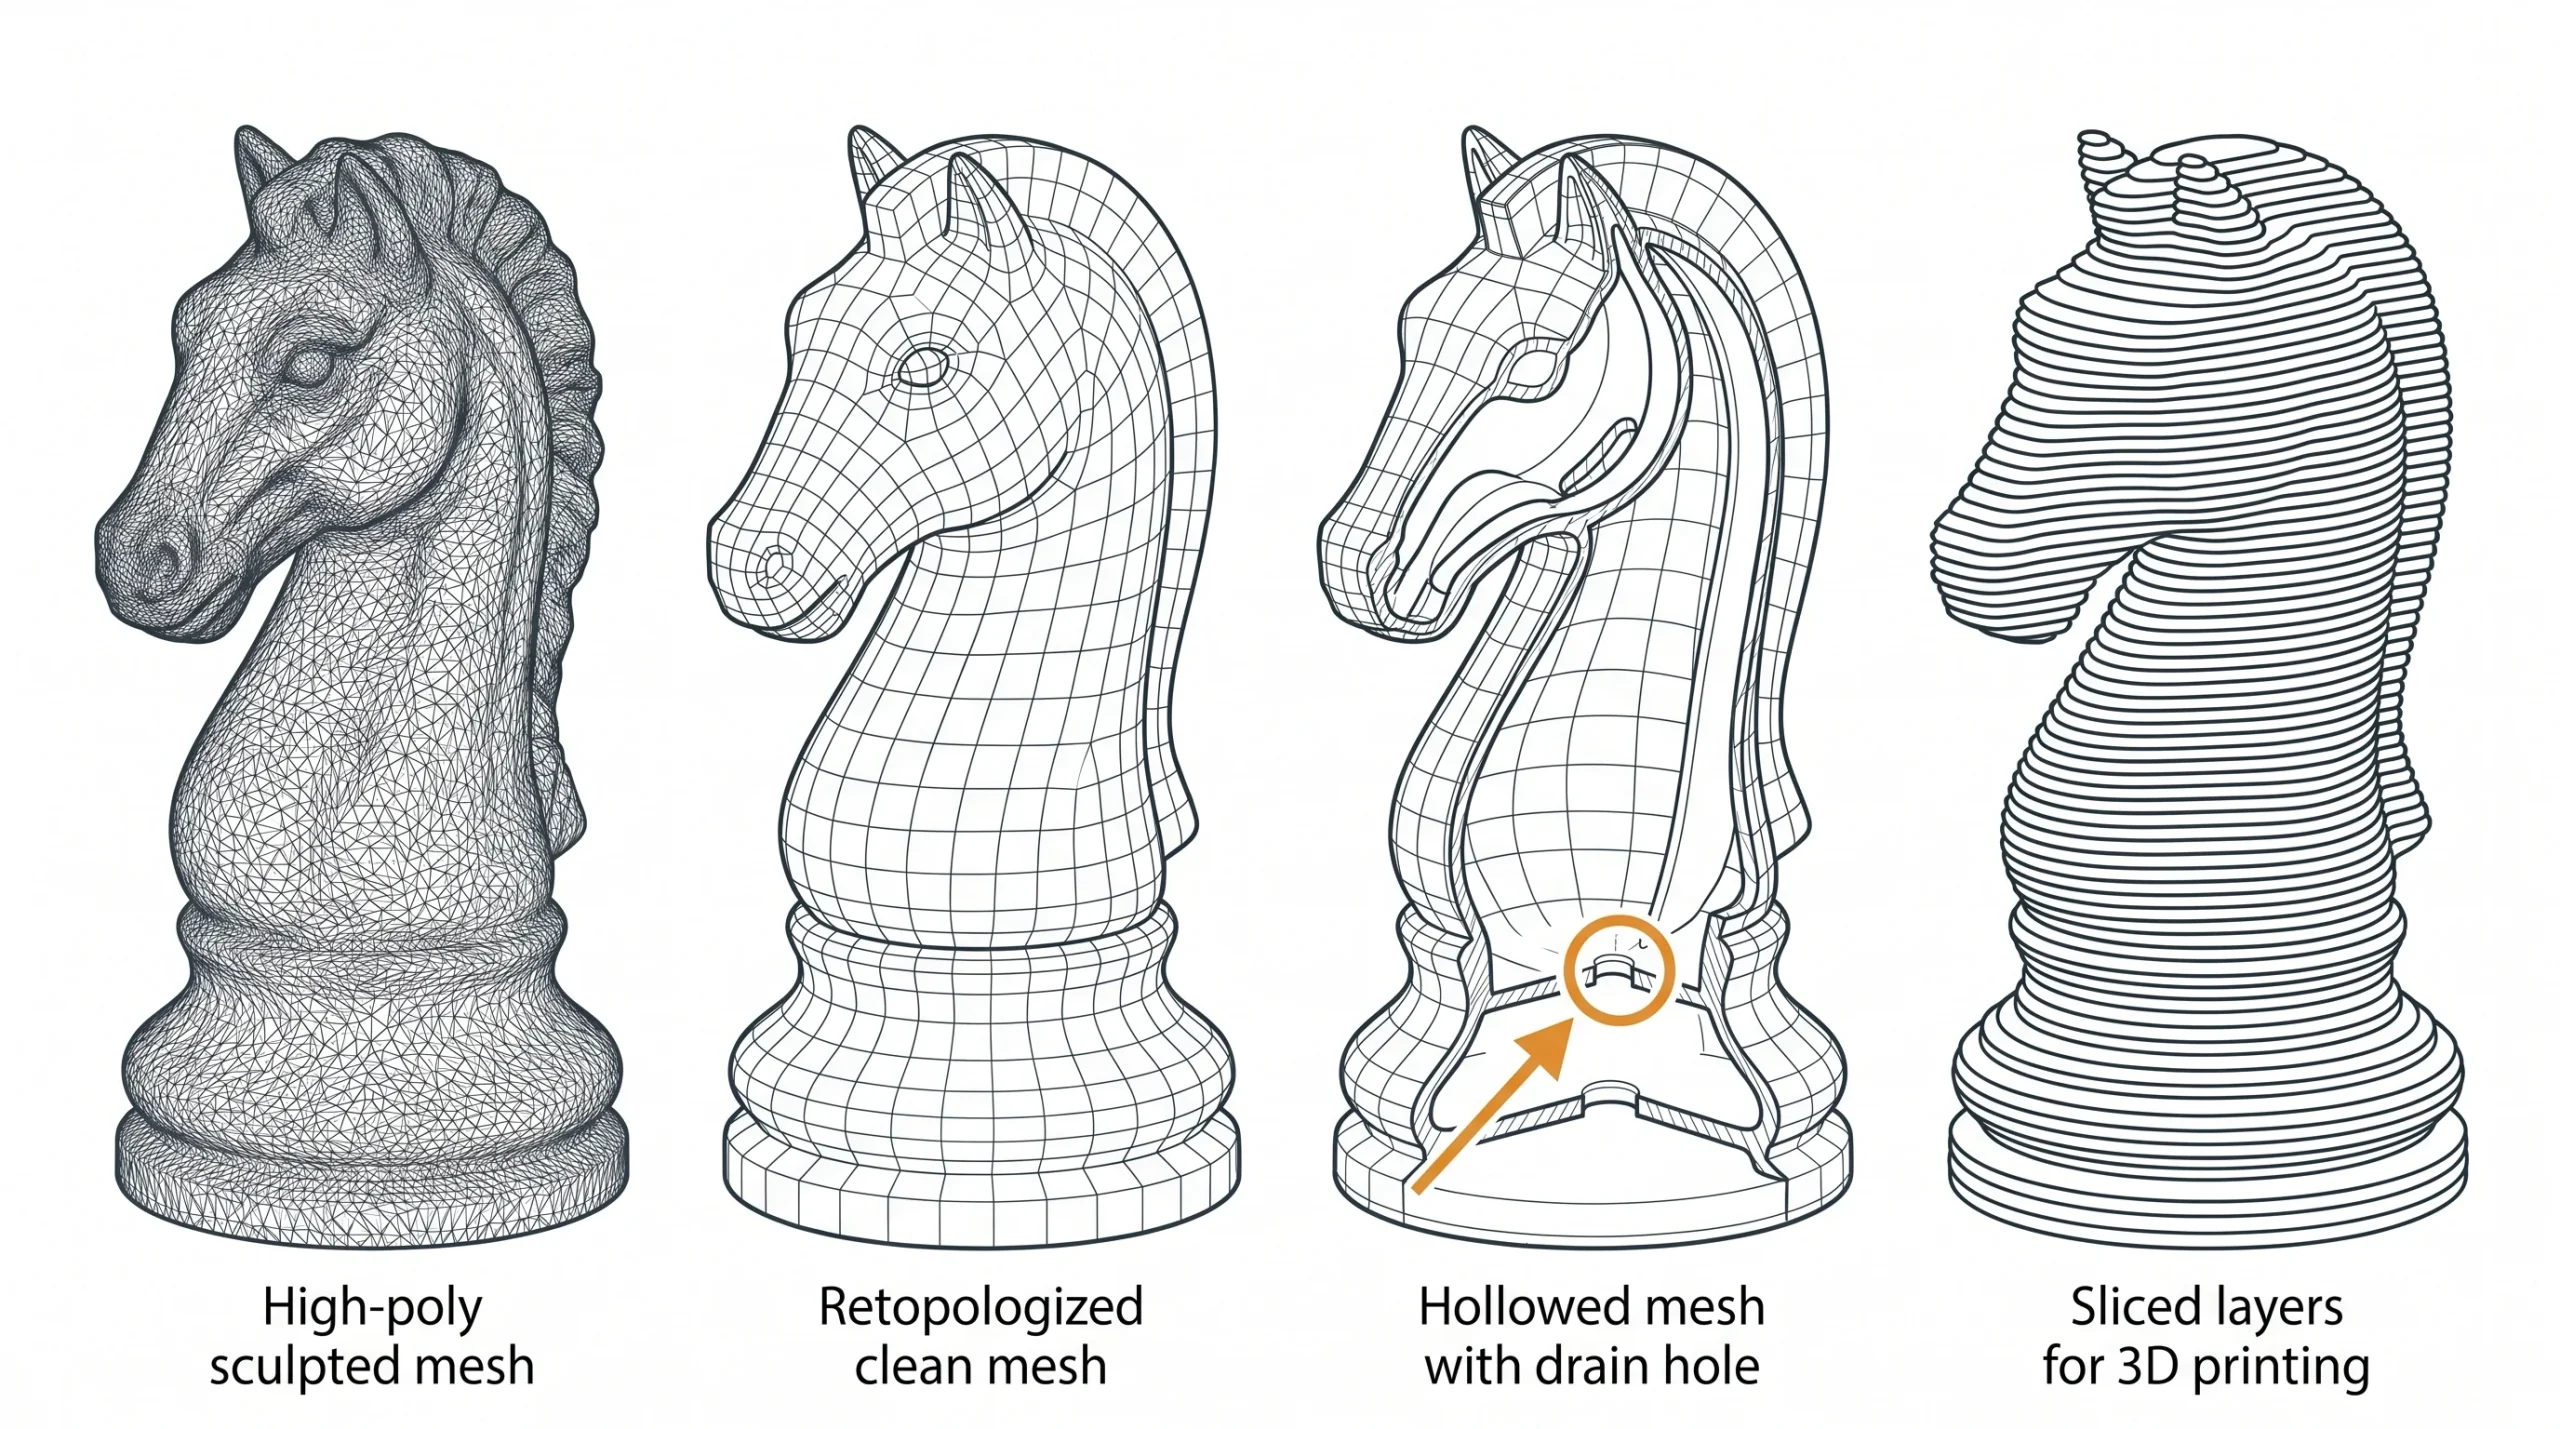
- Also in scope: CAD cleanup, mesh repair, retopology for printability, hollowing solid models, wall-thickness audits, splitting parts for print-bed constraints.
- Out of scope: production-ready industrial tooling, precision mechanical assemblies, anything requiring engineering certification, load-bearing parts where we’d be the engineer of record.
If your project is more engineering than design — say, a precision mechanism with tight tolerances and stamped drawings — we’ll usually pass unless you supply the technical references and we’re only doing the modeling translation. Better to say no upfront than ship something that fails on you.
How we choose the software
People love debating which application is “best” for printing. The honest answer is that the software follows the object, not the other way around.
- ZBrush — organic forms, characters, creatures, anything that benefits from sculpting digital clay. High polygon counts, fine surface detail, then a decimation pass before export.
- Blender — flexible all-rounder. We use it for stylized props, mid-poly assets, mesh repair, and projects where the client wants the source file to be open-format.
- 3ds Max — when the object overlaps with our visualization pipeline (a product that needs both a print model and marketing renders), keeping it in Max saves redundant work.
- SolidWorks — only when the object is genuinely a technical part with parametric features. For most print jobs you don’t need it, and pretending otherwise wastes time.
Half the projects use two of these in combination. ZBrush for the sculpt, Blender for retopology and final mesh check. That’s a normal day.
The mistakes that actually kill prints
Software lists don’t help anyone print better. What helps is knowing the failure modes. The recurring ones we see:
- Wall thickness ignored. A wall that looks fine in the viewport can be 0.3mm in reality. FDM printers won’t render it; resin printers might, but it’ll snap. Every print modeler should set a minimum wall threshold based on the target printer and material.
- Non-manifold geometry. Holes, flipped normals, overlapping faces. Slicers will sometimes paper over these and sometimes won’t — and when they don’t, you get gaps mid-print.
- Hollow models without drain holes. Resin trapped inside a hollow sculpt will distort or explode the part during curing. Add the drain holes during modeling, not after.
- Forgetting the orientation. A model is only as printable as its best orientation on the build plate. We think about this while modeling, not as a post-step.
We wrote more about that last category in our piece on the most common mistakes designing 3D models for 3D print — worth a read before sending us files for cleanup.
What to send us
The best briefs we receive contain three things: clear reference imagery, the target printer (or print service) and material, and an honest description of the use case. Decoration, prototype, functional part — each implies different choices.
If the project is a personalized figurine — a person, pet, or character — we’ll often work from photos plus a body or pose reference. We’ve covered the approaches to modeling a person for 3D printing in detail elsewhere; photogrammetry, scanning, or fully manual sculpting all have a place depending on the budget and the likeness required.
For game or film-style hero characters, the brief tends to be larger and the references richer. That work overlaps with our 3D character models for printing service.
Output formats and handover
We deliver STL by default — it’s the printable lingua franca. For clients who want to keep iterating themselves, we’ll also send the source file (ZBrush ZTL, Blender .blend, or 3ds Max .max), plus OBJ or FBX where useful. If you’re going to a print bureau that needs a colour mesh, we’ll deliver OBJ with textures or 3MF.
One thing we don’t do unless asked: generate the slicer’s G-code. Slicing is printer-specific and the operator usually knows their machine far better than we do. We hand off the mesh; you slice it on the hardware that’s actually doing the print.
Pricing reality
Scope dictates cost. A clean figurine from good references is one kind of job. A prototype shell that has to mate with existing hardware and survive functional testing is another. We quote per project after seeing references — there isn’t a meaningful per-hour rate that means anything across that range.
Our typical engagement model is laid out on our workflow page. Short version: quote, staged payments tied to approvals, revisions baked in, final files on sign-off.
When 3D print modeling becomes something else
A fair portion of our print-modeling work doesn’t stay in print-modeling. Clients ask for a render of the figurine for their store listing. Or a turntable animation. Or a 360 product spin for the website. We can do all of that without handing the file to a different studio — which is the practical advantage of working with a generalist viz studio rather than a print-only modeler.
That breadth is the studio’s honest pitch. Not the best in the world at any single niche. But across more disciplines than most studios our size, and with the project history to prove it.