We get asked about 3D printing character models often enough that it’s worth being direct about what the work actually involves. A printable character is not just a pretty render with a high polygon count. It’s a watertight mesh, with sensible wall thickness, with supports thought through, and with a topology that survives the slicer without falling apart. That’s the job. The rest is craft.
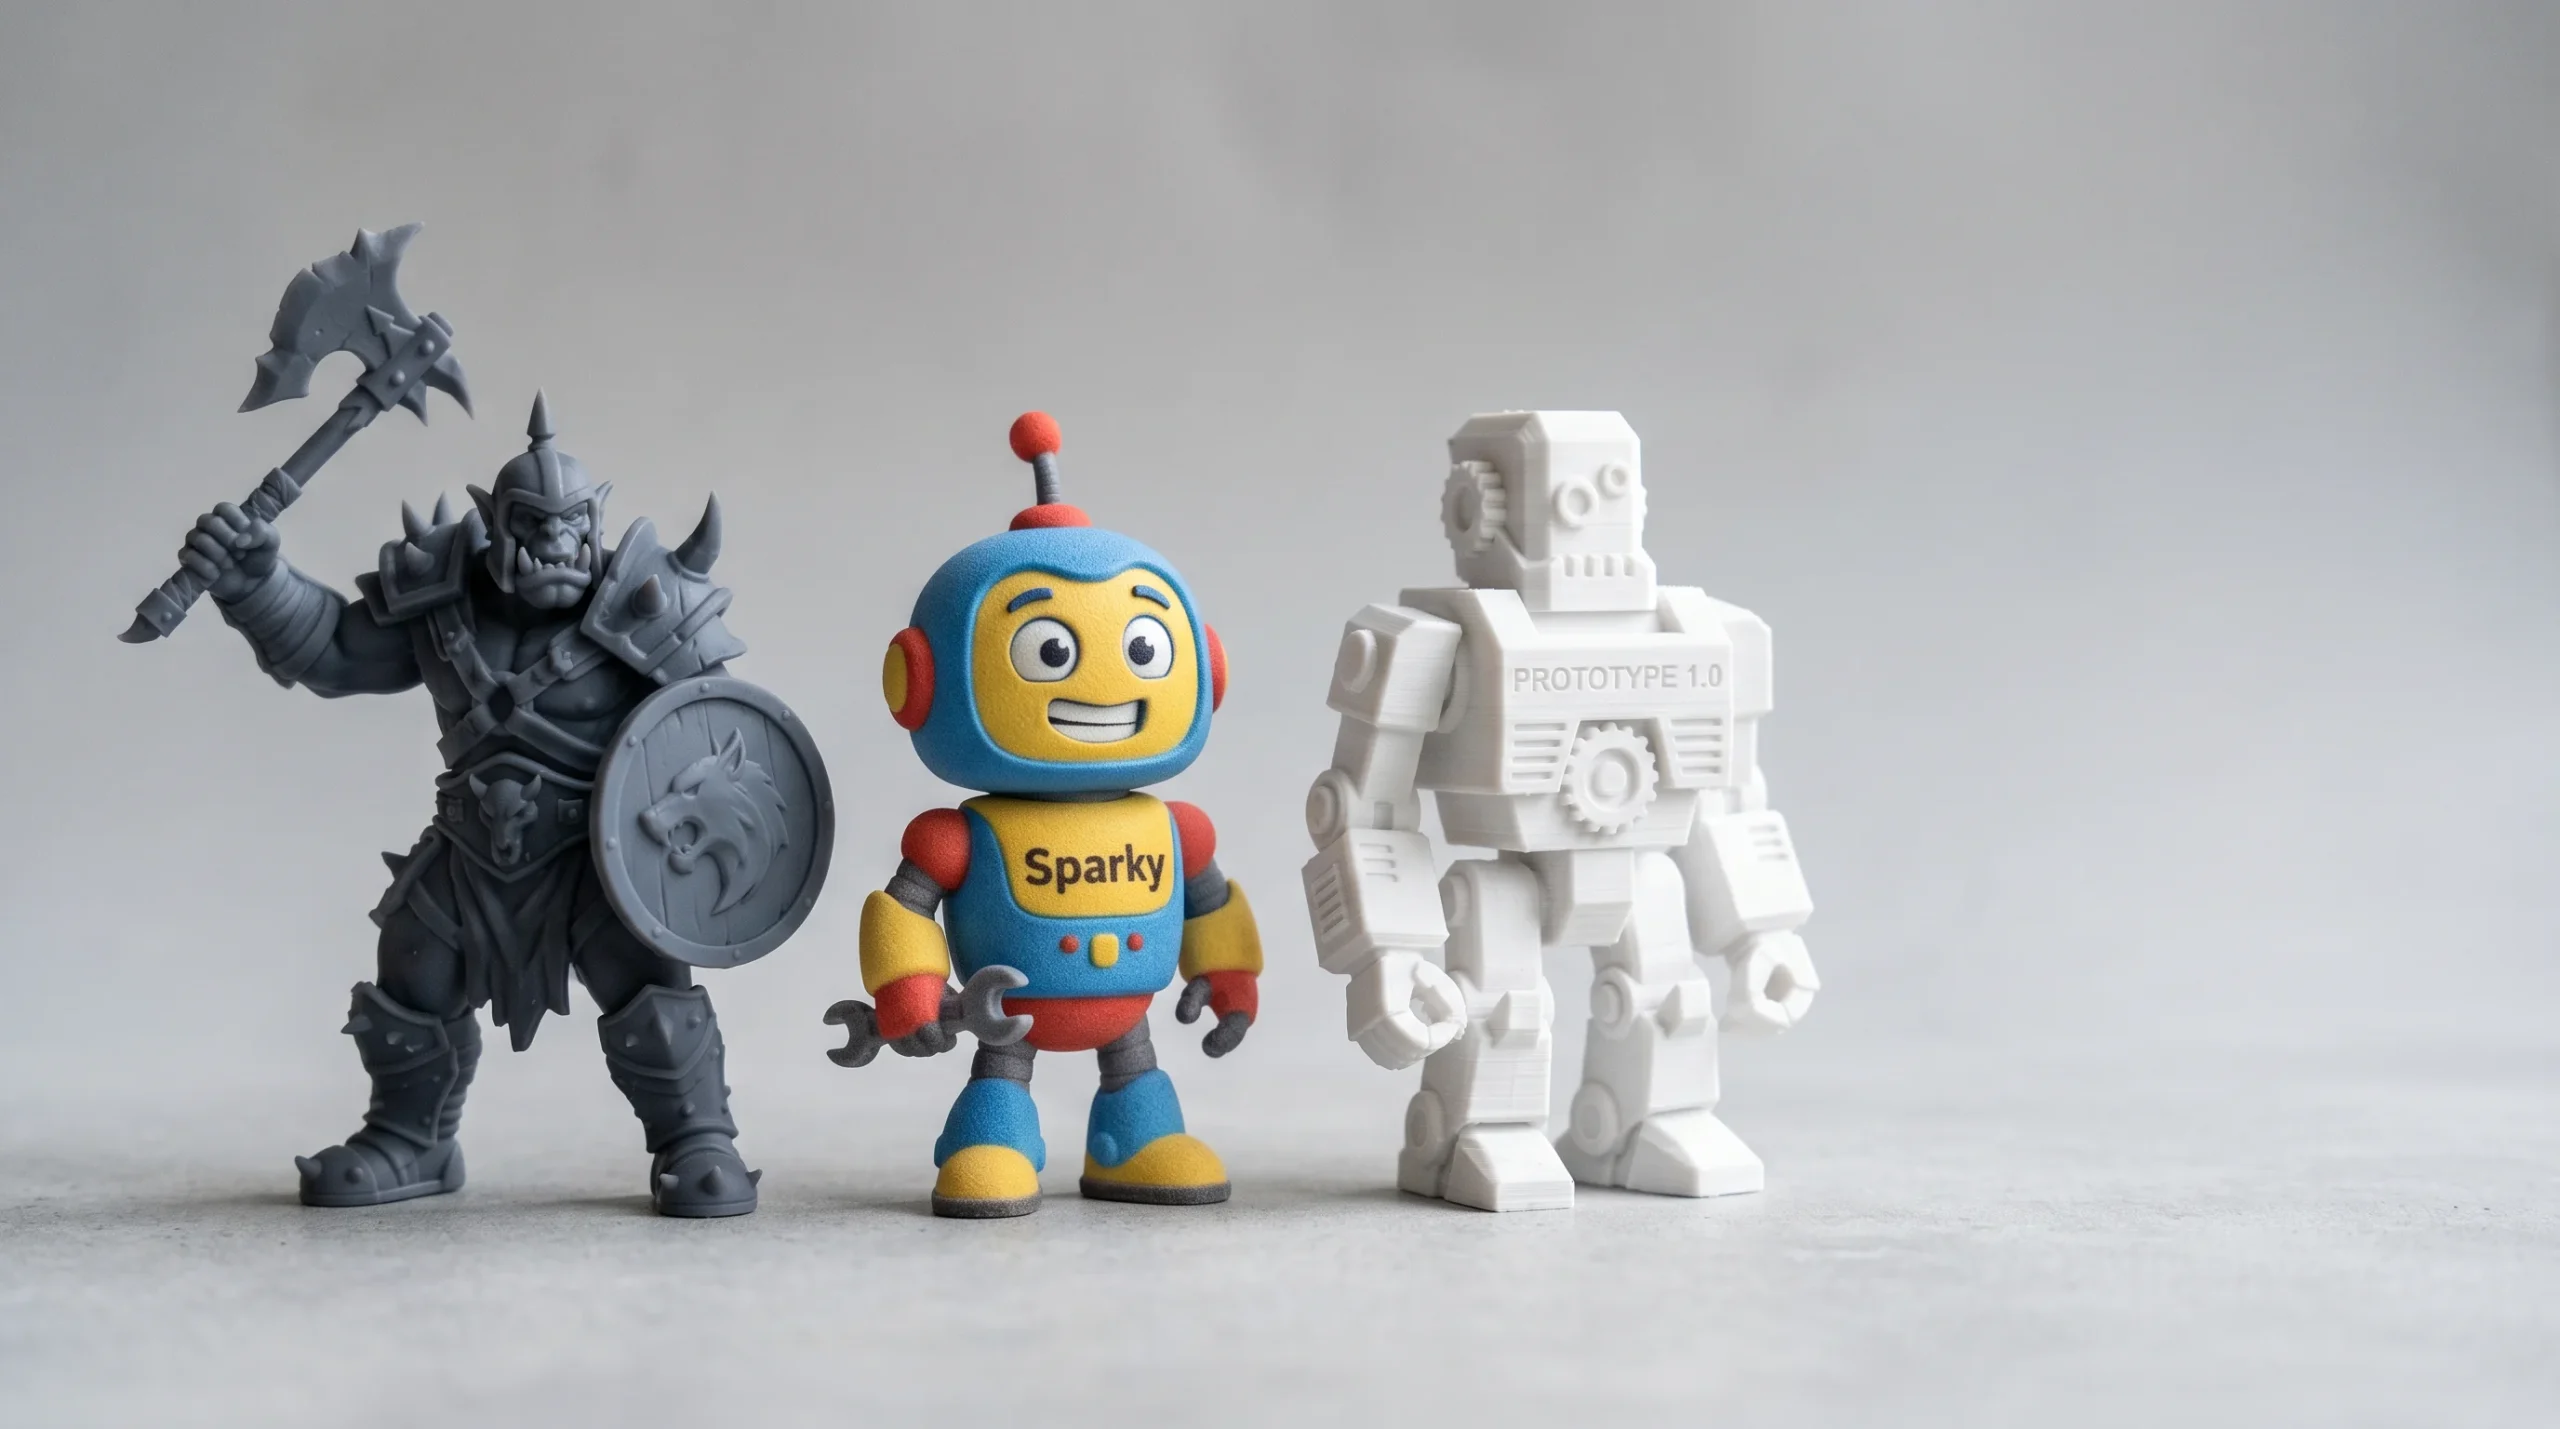
This page covers how our studio handles the modeling side: what we build, what we hand over, and where the work ends. If you’re shopping for the print itself — running the machine, finishing the part — that’s a different vendor. We do the digital model. They do the physical object. The two roles get conflated constantly, and that confusion is half of why projects go sideways.
What “3D printing character models” actually means in practice
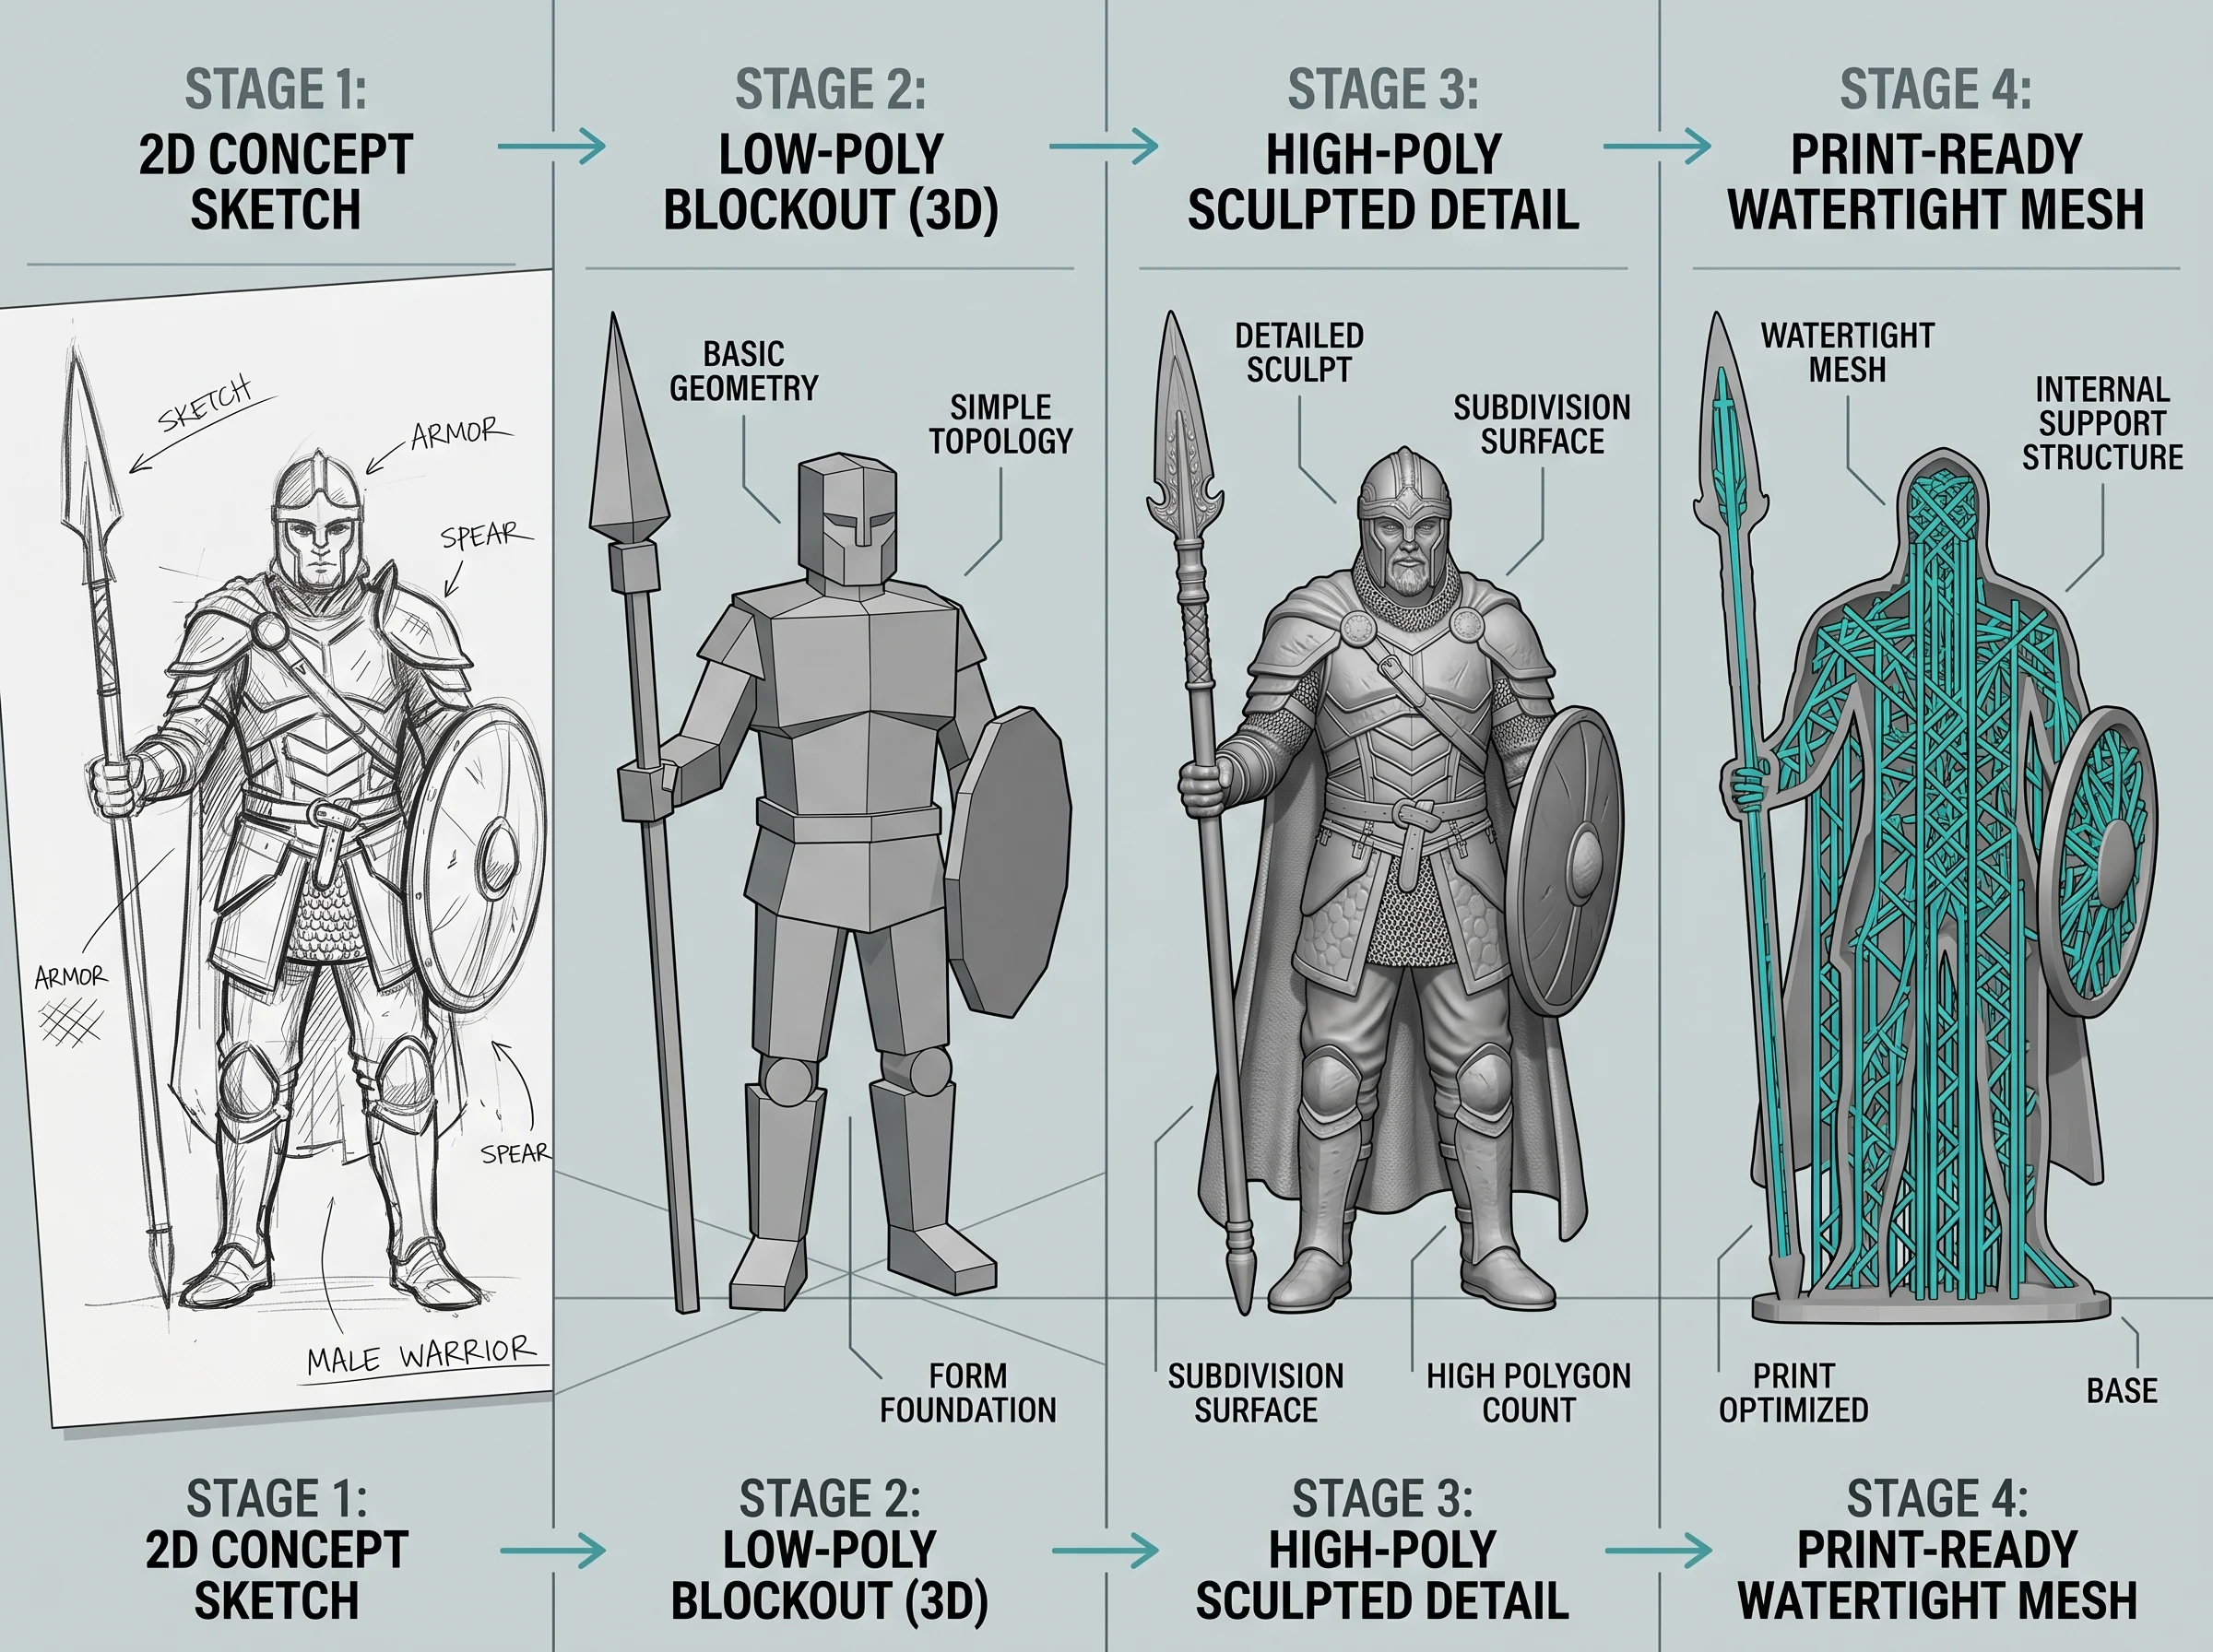
Most clients arrive with one of three things in hand: a 2D concept sketch, a rough idea described in words, or a reference image from a game or film. Occasionally someone shows up with a scan — photogrammetry mesh or a structured-light capture — that needs cleaning up. The starting point shapes the whole pipeline.
- Concept-only briefs: we sketch in 2D first, lock the silhouette and proportions, then move to 3D. Skipping the 2D stage usually means re-sculpting twice.
- Reference-based briefs: game characters, cartoon figures, fan-art commissions. We work from the references you supply and flag anything you may not have rights to.
- Scan-based briefs: raw scans are almost never printable. They need retopology, mesh repair, and often re-sculpting of areas the scanner missed.
For toolset, the heavy lifting happens in ZBrush for organic forms and Blender or 3ds Max for harder surfaces and assembly. SolidWorks comes in when something needs precise mechanical features — a base, a peg, a screw thread. The choice of software is rarely the interesting part of the conversation. The interesting part is whether the mesh is going to print.
The workflow we use
There’s no universal pipeline, but the steps almost always look like this:
- Brief and reference review. We talk through the character, the pose, the print size, the expected printer (FDM, SLA, SLS, full-color gypsum), and whether the figure prints as a single piece or in segments.
- Blockout. A rough volumetric model to lock proportions before anyone gets attached to surface detail. This is the cheap stage to change your mind.
- High-poly sculpt. Where the character actually becomes itself. Facial features, fabric folds, armor wear, hair.
- Print preparation. Mesh repair, manifold check, wall-thickness audit, hollowing where appropriate, drainage holes for resin, key-and-socket joints if the figure splits into parts.
- Export. STL or OBJ for monochrome printers, plus textured formats for full-color workflows. We can also deliver the source files (.ZTL, .blend, .max) so you or another vendor can iterate.
Half of the value of the print-prep stage is invisible until you skip it. Then it’s the only thing the print shop talks about.
What we deliver — and what we don’t
We deliver the digital model. That’s the boundary. Concretely:
- Print-ready STL or OBJ at the resolution your printer actually needs (no point sending a 40-million-poly mesh to an FDM job).
- Source files on request, so future edits don’t require starting over.
- Optional textured/colored model for sandstone or PolyJet full-color output.
- A short note on recommended wall thickness, supports, and orientation — based on what we modeled for, not a guarantee for your specific machine.
What we don’t do: run the printer, finish the part, paint it, ship it, or quote on production runs of physical figures. We’re not a figurine shop. We’re the studio that hands the figurine shop a file they can actually use.
Same goes for engineering-grade industrial parts. If the brief drifts toward precision mechanisms, tooling, or production-ready hardware, that’s outside our character-modeling lane unless you’re supplying the engineering and we’re only doing visual translation.
Where character models for print show up in real projects
The use cases cluster more narrowly than the internet suggests:
- Indie game and film studios who want physical merch or pitch props of their own IP — printed at a few inches tall, often hand-painted afterward.
- Tabletop and board-game publishers needing miniatures designed around a known scale (28mm, 32mm, 75mm). The scale changes how you model. It really does.
- Custom commissions — a likeness, a pet, a stylized portrait — usually from photos plus a brief.
- Prototype geometry for product designers who need a character-shaped enclosure or a mascot built into a consumer object.
Tabletop scales are the ones that catch people out. A model that looks fine at 75mm collapses into a blob at 28mm because the detail is below the printer’s minimum feature size. Modeling-for-scale is a conversation, not an afterthought.
How we work with you
The character pipeline overlaps with our wider modeling and visualization work. If you also need turntable renders, marketing imagery, or a short animation of the character before committing to a print, we handle that in-house. See our notes on 3D product visualization for how we approach the rendering side of object-scale work, or our piece on common mistakes in modeling for 3D print for the trap list we’ve watched clients fall into. For broader context on the secondary services we offer around print modeling, the 3D print modeling overview page lays out the toolset.
Briefs we can move on are usually short: a sketch or reference, the intended print size, the printer technology if you already know it, and a one-line description of who the character is. The rest we figure out together.