If you’ve never sat behind a 3ds Max viewport for eight hours, the job title “architectural 3D modeler” is easy to misread. People hear “modeler” and picture someone pushing pretty pictures around. The real work is closer to draftsman meets sculptor — building a digital twin of a building that’s accurate enough for marketing, clean enough to render, and lightweight enough that the rendering doesn’t take a week.
This article walks through what an architectural 3D modeler actually does on a project, the tools we use at the studio, the deliverables we hand off, and where modeling fits inside the wider visualization pipeline. No history lessons about ink pens and Whatman paper.
What an architectural 3D modeler does on a project
The modeler takes whatever the client has — architect drawings, sketches, photos of a site, a Revit file, a rough massing concept — and rebuilds the building as 3D geometry inside 3ds Max. That sounds simple until you actually do it. Drawings disagree with each other. Window schedules don’t match elevations. The architect’s site plan shows a slope that isn’t reflected in the sections. Somebody has to make decisions, document them, and keep the model coherent.
Most of the modeler’s day is spent on:
- Translating 2D drawings into accurate 3D massing — walls, floors, roofs, openings.
- Modeling facade detail at a level that reads correctly from the planned camera distance.
- Building site context — terrain, neighboring structures, hardscape, vegetation pads.
- Setting up clean topology so material assignments and UV mapping don’t fight back later.
- Resolving drawing conflicts and flagging them to the project lead before they become render-time problems.
The last bullet is the one juniors underestimate. A modeler who silently “fills in” missing information creates expensive surprises three weeks later. A modeler who asks early saves the project.
Tools we actually use
The studio’s primary modeling stack is unromantic and stable:
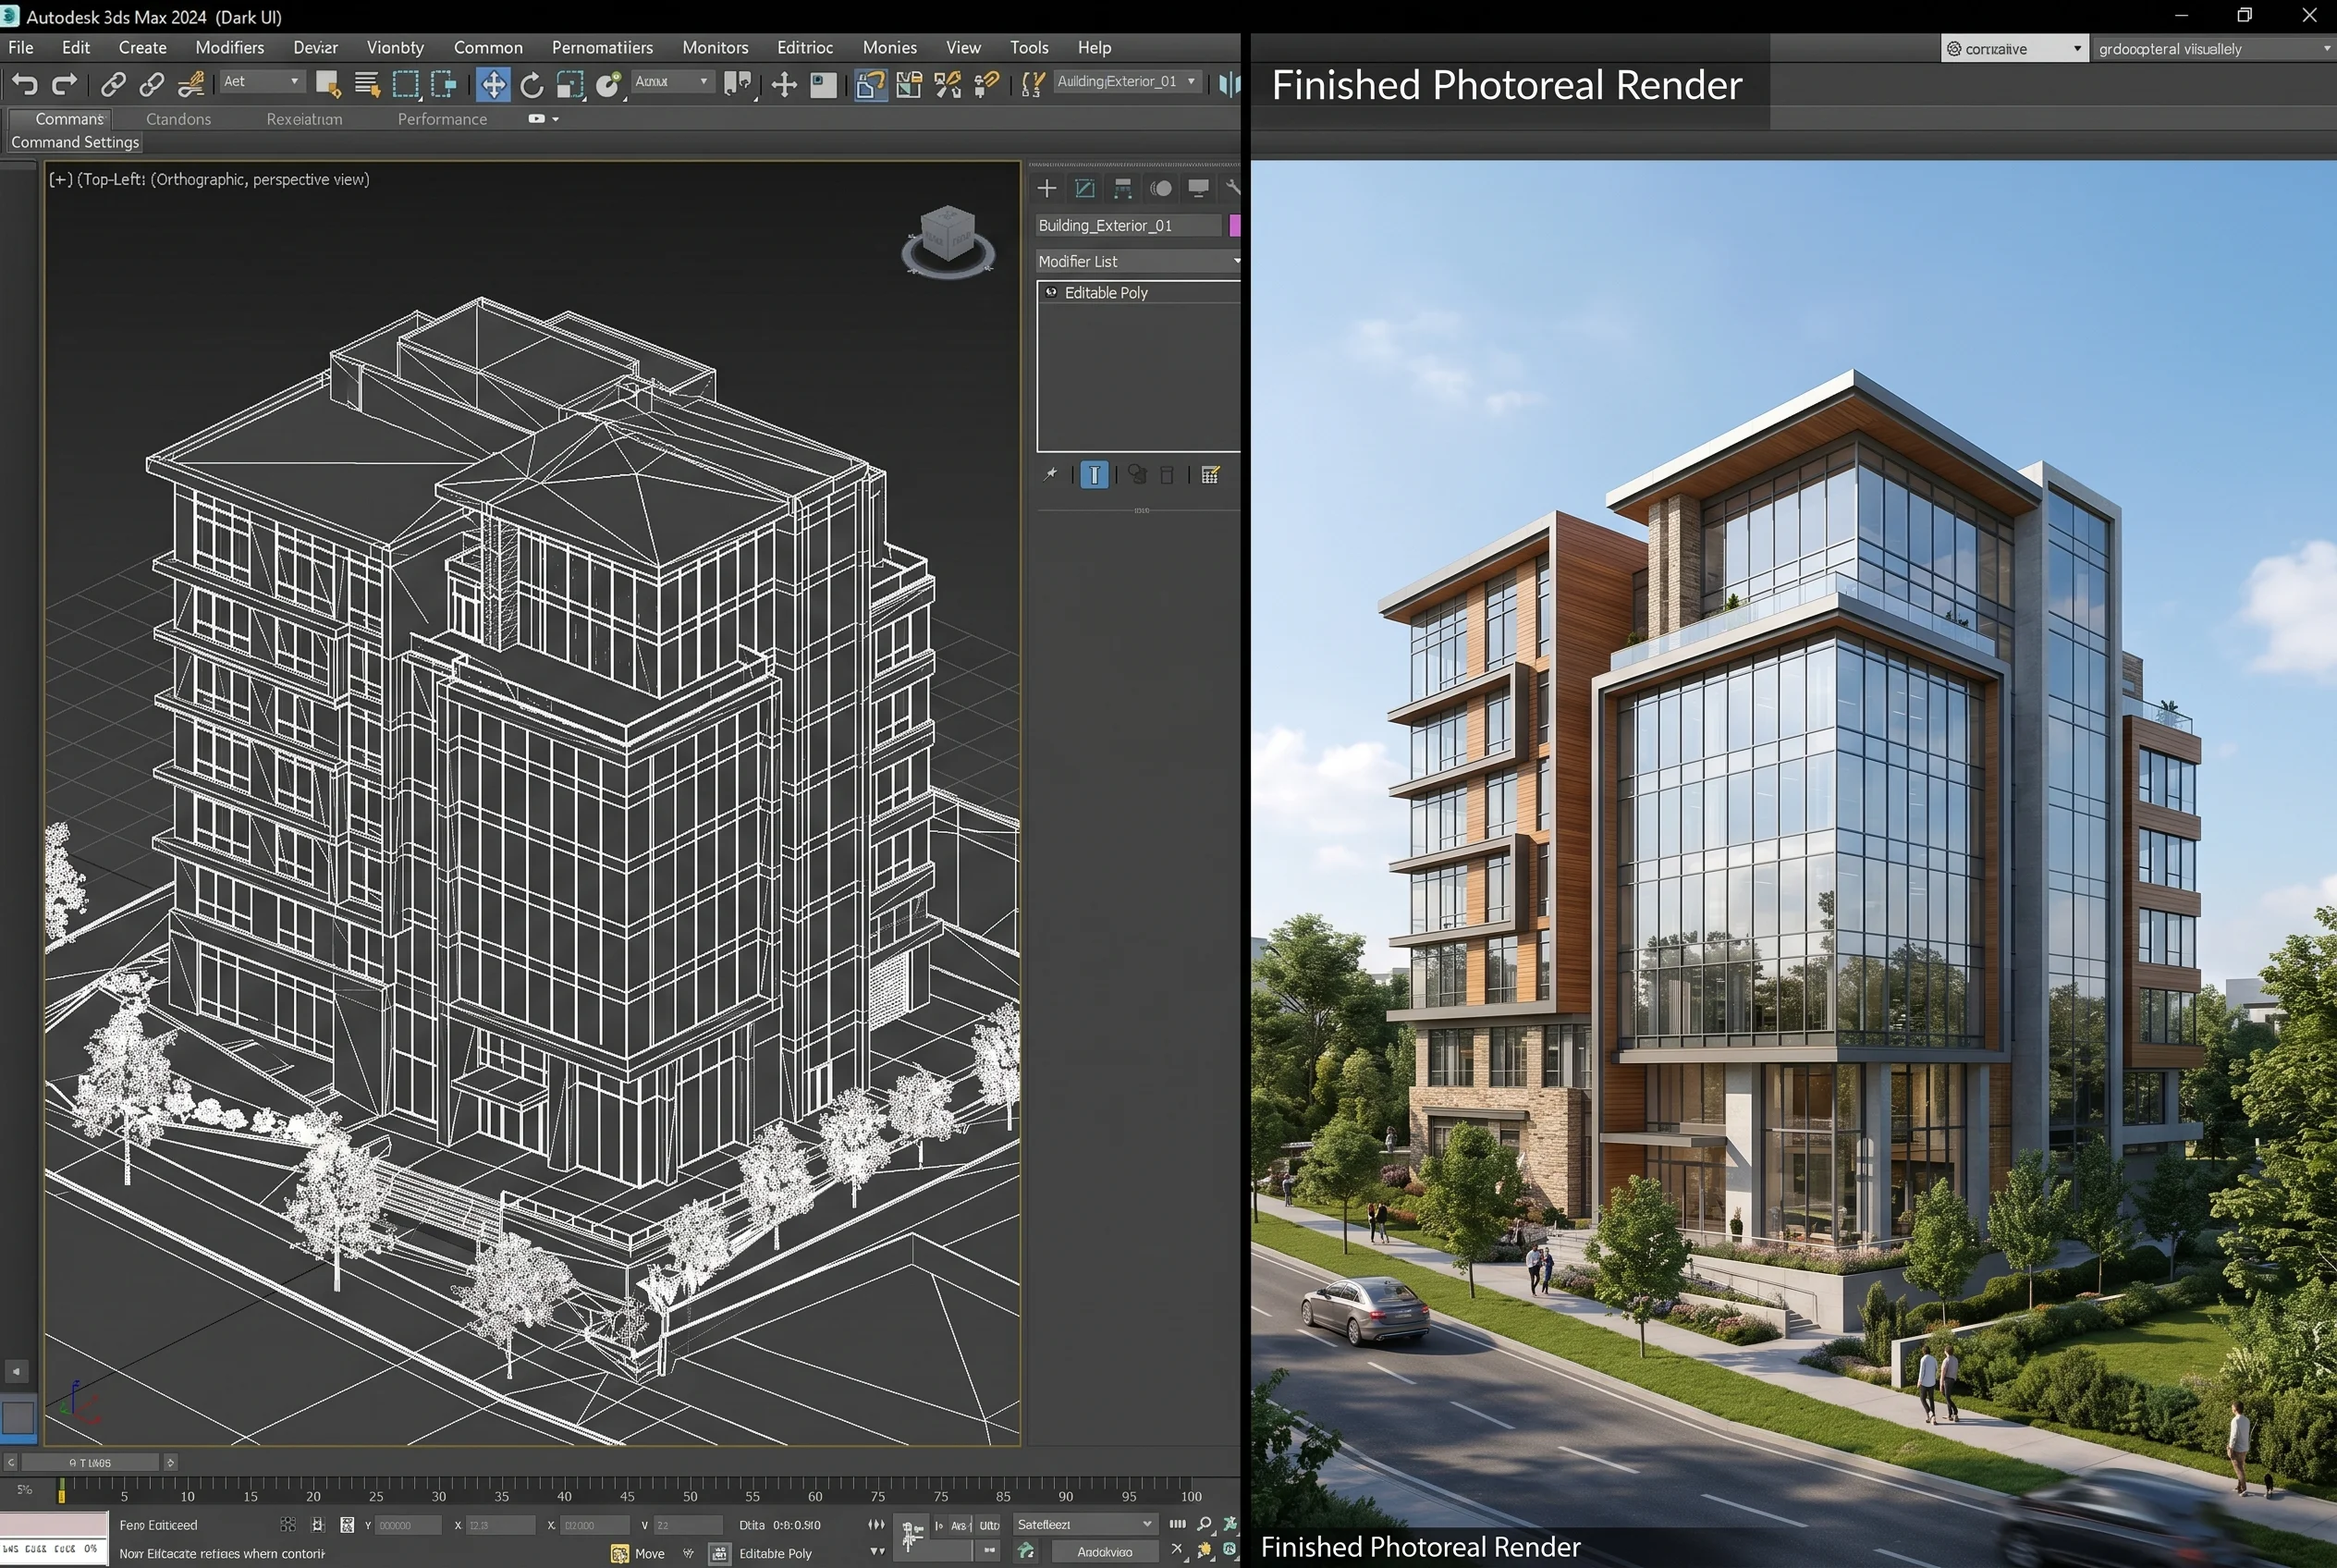
- 3ds Max — main modeling and scene assembly tool for archviz.
- Corona Renderer — primary render engine; modelers build with Corona’s material and lighting workflow in mind.
- Revit — incoming BIM, drawings, schedules; some projects are modeled in Revit and reused in 3ds Max for visualization.
- Blender and ZBrush — secondary tools when organic detail, custom props, or specialty meshes are needed.
- AutoCAD — for DWG drawing reference and coordination.
We’re not religious about software. The brief decides the toolchain. A high-poly interior with custom millwork might pull in ZBrush for decorative profiles; a phased masterplan stays in 3ds Max because the camera never gets close enough to need anything fancier.
Polygon vs NURBS, without the encyclopedia entry
Two modeling approaches dominate archviz. They solve different problems.
Polygon modeling is what you’ll see in 90% of architectural work. You start from a primitive or a flat plane, extrude, cut, weld, and sculpt geometry into shape. It’s forgiving, fast, and produces clean renderable meshes. Almost every building facade, interior space, piece of furniture, or landscape element in our portfolio is polygon-modeled.
NURBS modeling uses mathematically defined curves and surfaces. It shines for precision industrial design, automotive bodies, and curvilinear product shells where surface continuity matters. We use NURBS-style approaches occasionally — typically on product visualization or jewelry-style projects — but pure architectural work rarely calls for it.
The honest take: most archviz modelers go their whole career as polygon modelers and never miss NURBS. Knowing both helps when a brief crosses into product territory.
Deliverables — what leaves the studio
“3D model” can mean wildly different things depending on what the client actually plans to do with it. A modeler’s first question is always: what’s the end use? Renders? Animation? VR? Future iterations? Each end use changes how the geometry should be built.
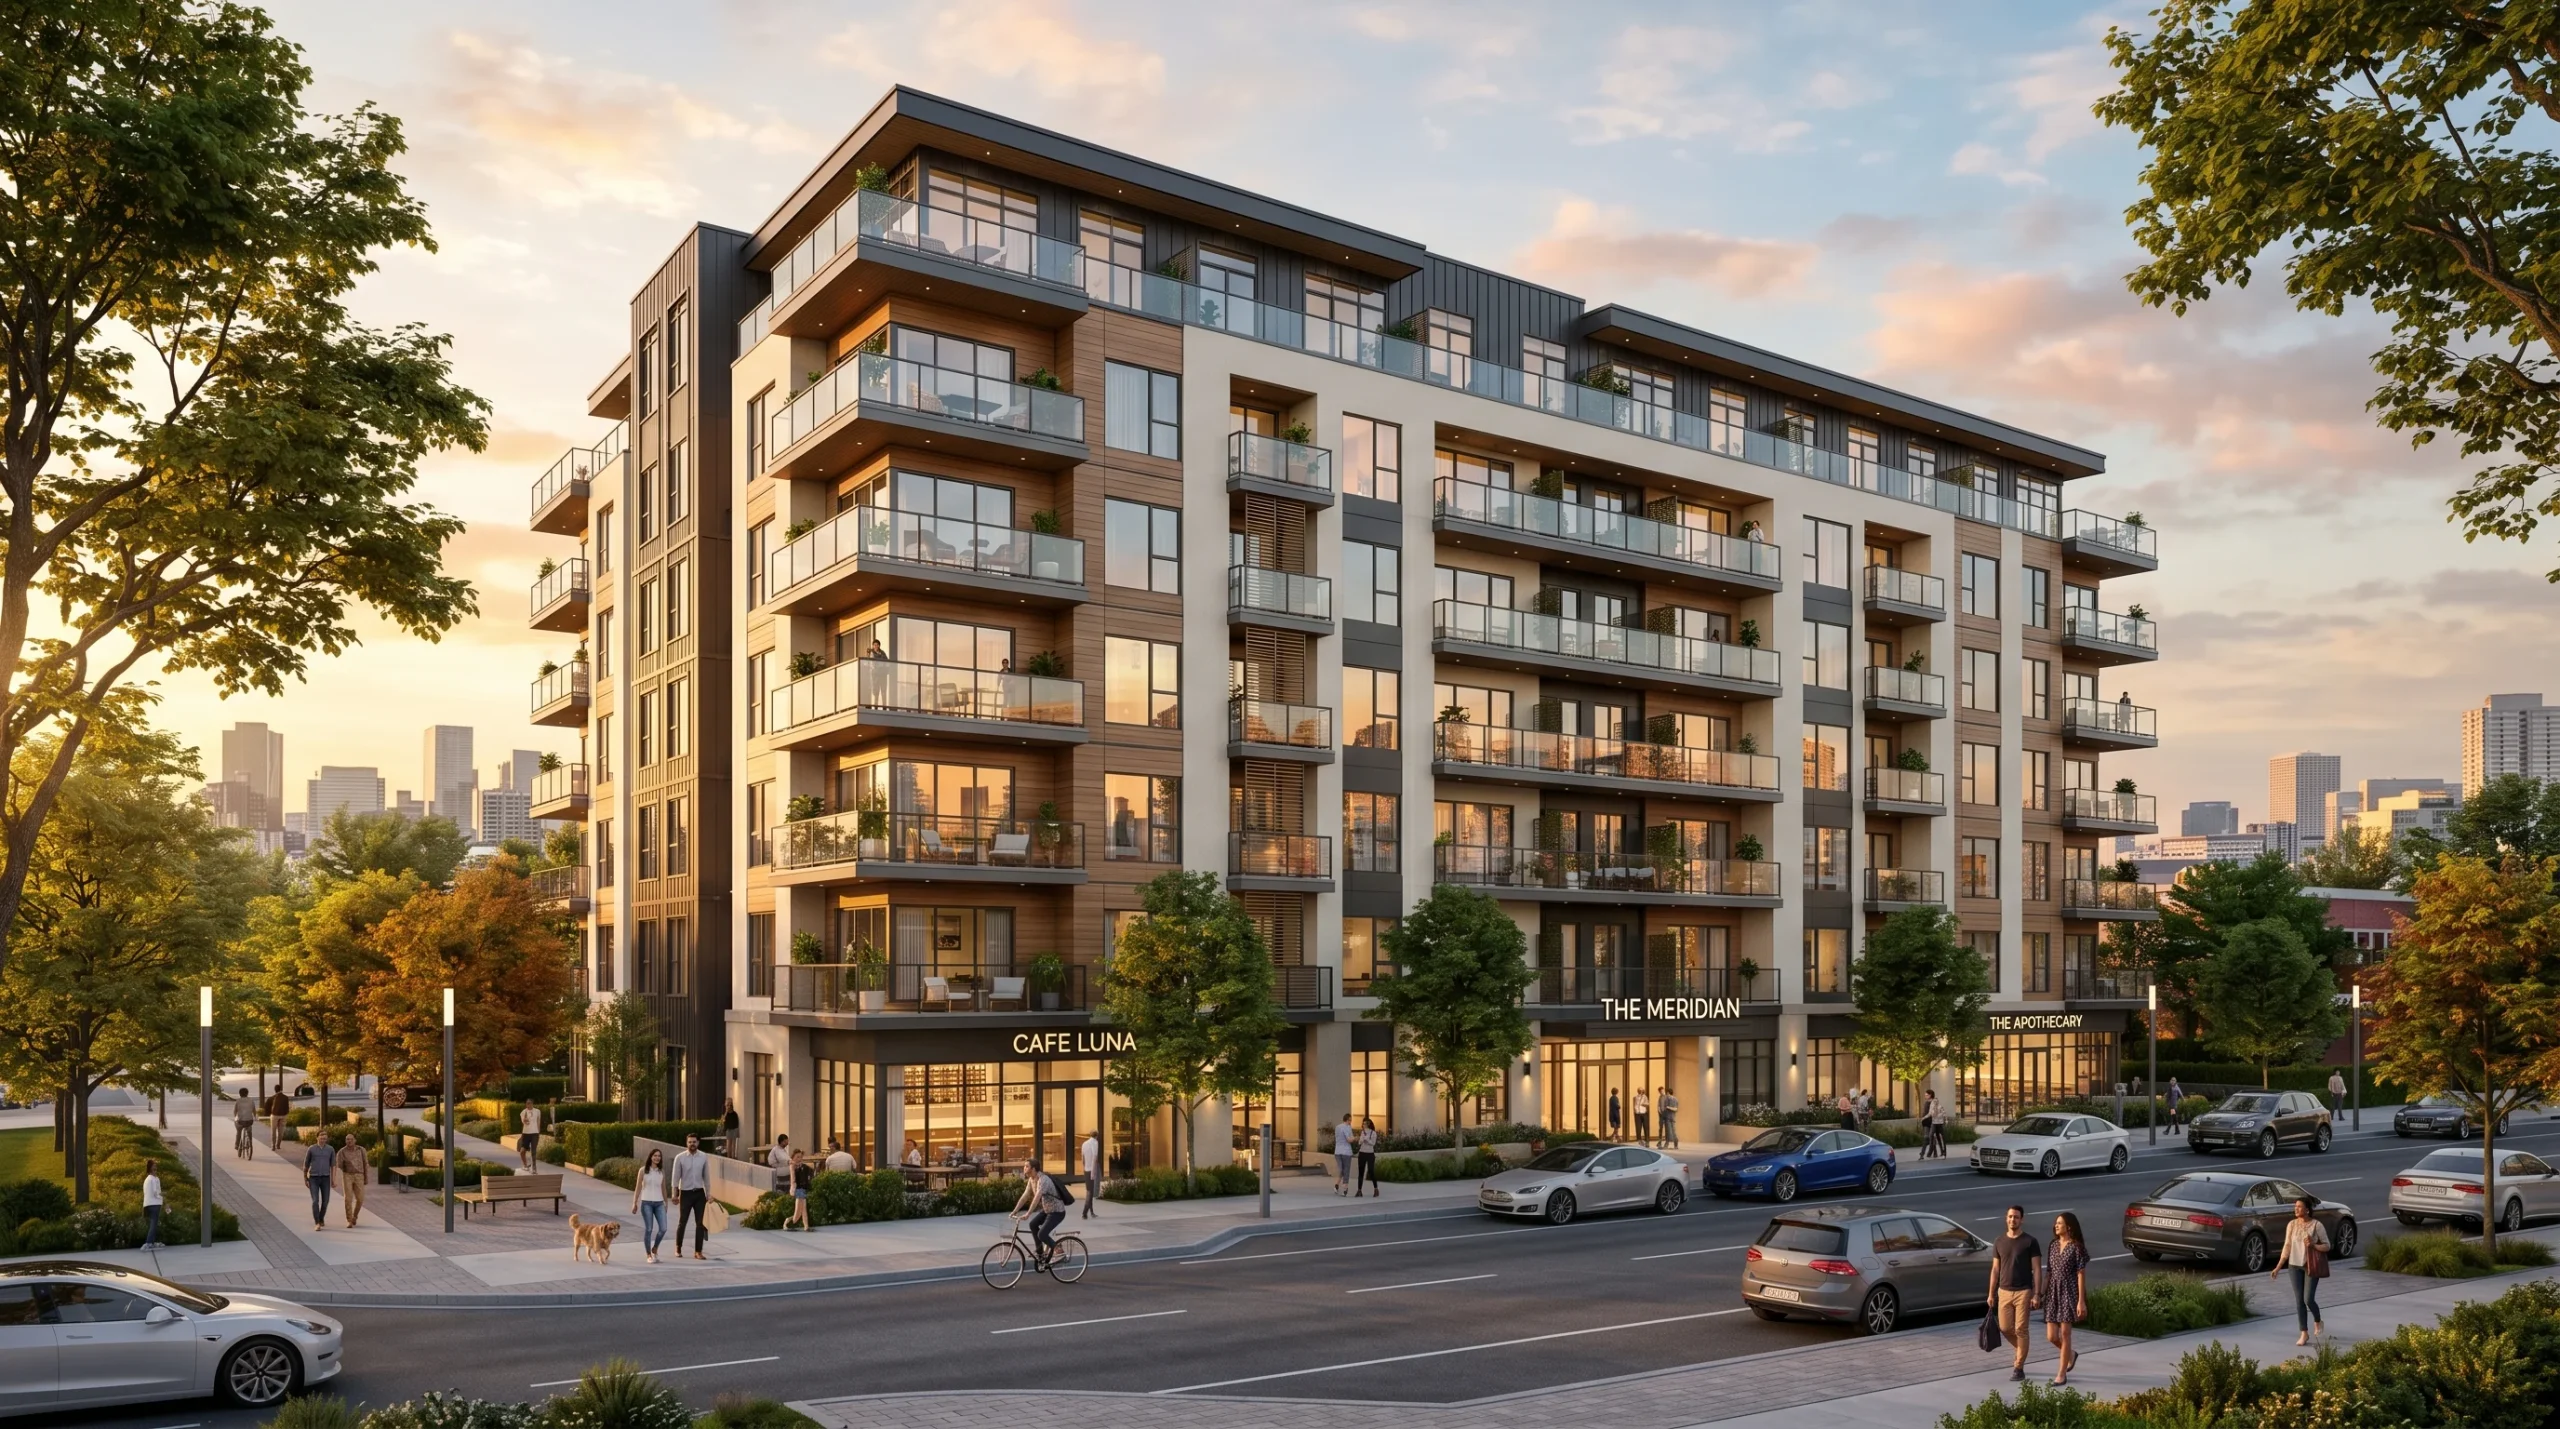
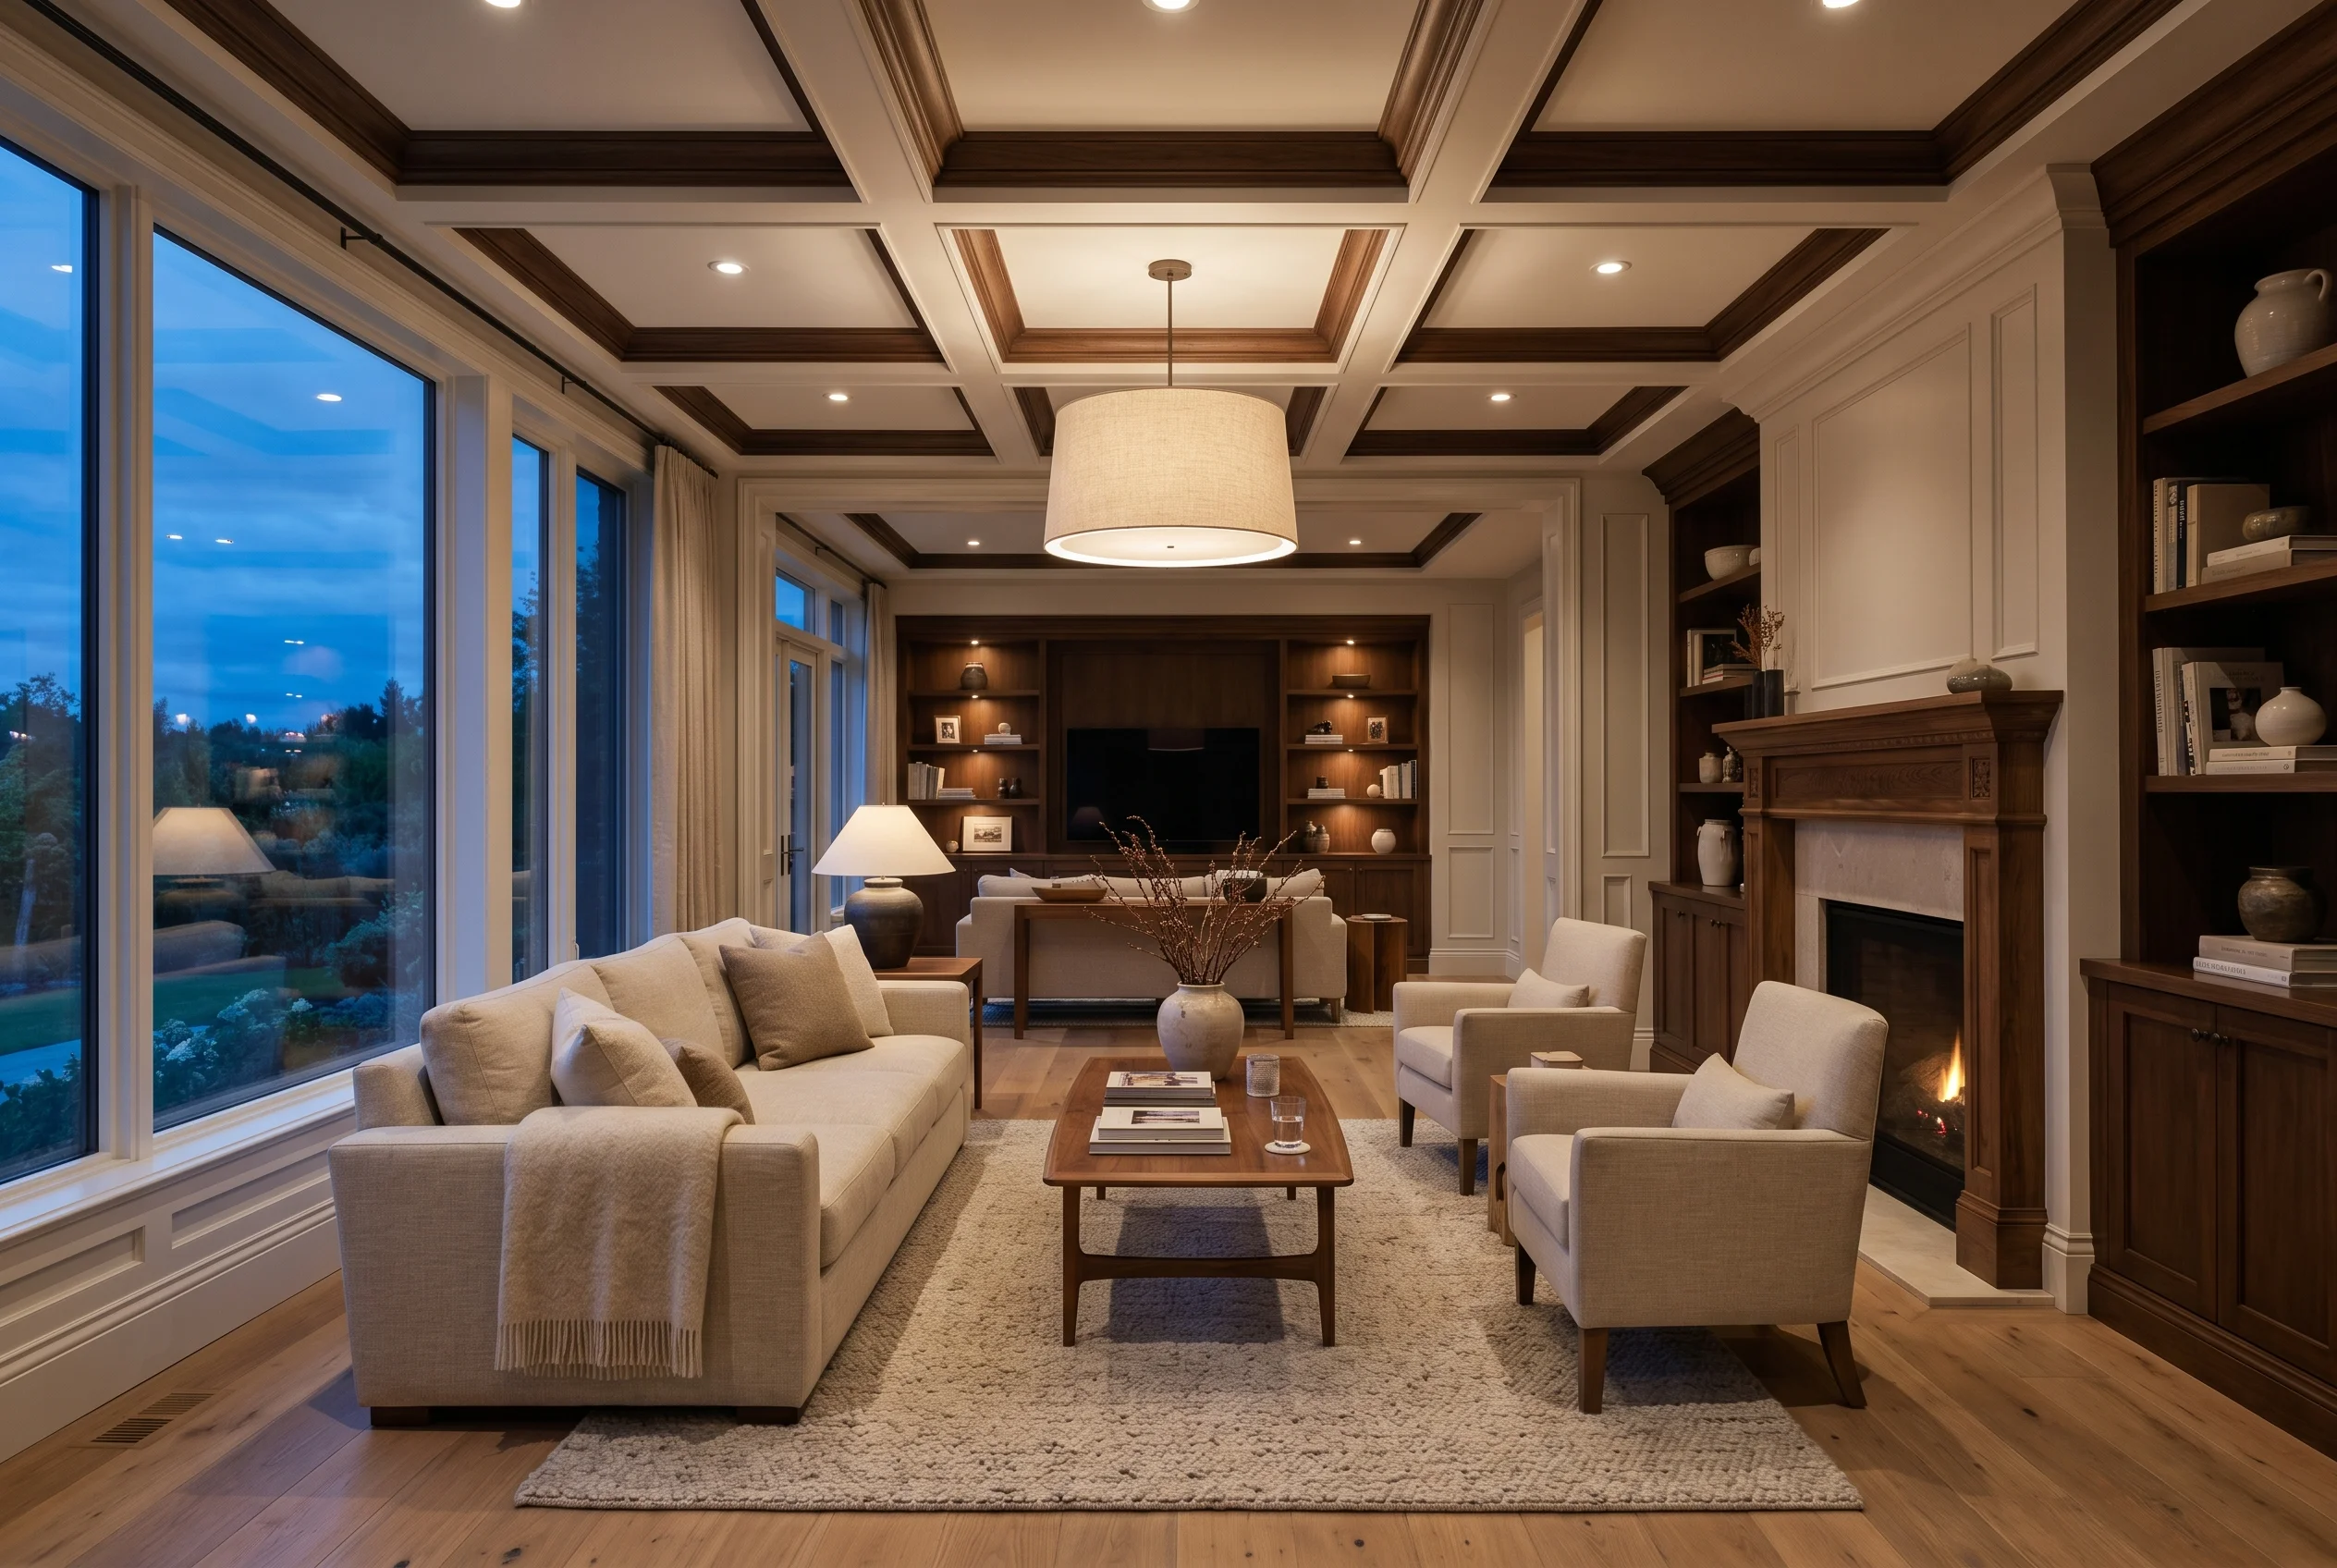
- Static photoreal renders — exterior, interior, marketing visuals. Geometry is built specifically for the rendering camera angles agreed with the client.
- Concept and planning visuals — lower-fidelity models that get used early in a project to test massing, sightlines, and material direction.
- Models prepared for architectural animation studio work — walkthroughs and flythroughs need cleaner topology, fuller scene coverage, and a different LOD strategy than stills.
- Source files — 3ds Max scene files, Corona materials, organized asset libraries, when the client wants to take the model in-house.
- BIM-side outputs — Revit-based drafting work running in parallel: floor plans, elevations, sections, design development drawings.
One scope note worth stating plainly. We produce preliminary architectural drawings and BIM modeling that support a permit application — they’re meant for the licensed engineer or architect of record to work from. We don’t stamp drawings, we don’t do structural or MEP engineering, and we don’t certify code compliance. That’s a different profession with a different insurance policy.
Where modeling fits in the bigger workflow
Most of our clients don’t actually want a 3D model. They want renders, a video, a virtual tour, or architectural renderings for design and marketing. The model is the chassis underneath the deliverable.
For an exterior render project, the workflow typically runs:
- Receive brief, drawings, references, and target camera angles.
- Block out massing and confirm the angle reads correctly before detail work starts.
- Build facade detail to match the camera distance — close-up cameras get sharper detail, distant shots stay lighter.
- Add site context, vegetation, entourage (cars, people, props).
- Hand off to the lighting and rendering team, who set up Corona, materials, and final output.
- Iterate on client feedback — typically two rounds, sometimes more on bigger jobs.
Half the value of getting the modeling right is that lighting and rendering downstream become predictable. Half the cost of getting it wrong is that everything downstream becomes a fight.
Why the modeler matters more than people realize
Clients often focus on the rendering — the final image is what they’re paying for and what they hang in the sales gallery. Fair enough. But every visible flaw in a final render traces back to a decision in the modeling phase. A facade that doesn’t quite line up. Window mullions a touch too thick. A roof line that breaks at the wrong angle. None of that gets fixed in post.
The modeler also sets the ceiling on how flexibly the project can adapt. A model built only for one hero shot is cheap. A model built for a hero shot plus future angles, plus an animation pass, plus a 360 tour, costs more up front and saves everyone money the second time the client says “what if we add another shot.”
Our studio’s positioning, honestly
Art Land Design has been doing this work for over 2 decades, with 1,500+ projects across exterior, interior, product, animation, and interactive visualization. We’re not the single best architectural 3D modeling studio in the world — anyone making that claim should be treated with suspicion. What we offer is breadth and a deep enough project history that the surprises are mostly out of our system.
The practical result for clients: we can take a brief that spans modeling, rendering, animation, and interactive WebGL without subcontracting it out and losing the thread between stages. For a developer pitching off-plan apartments, that consistency matters more than chasing the absolute best at any one stage.