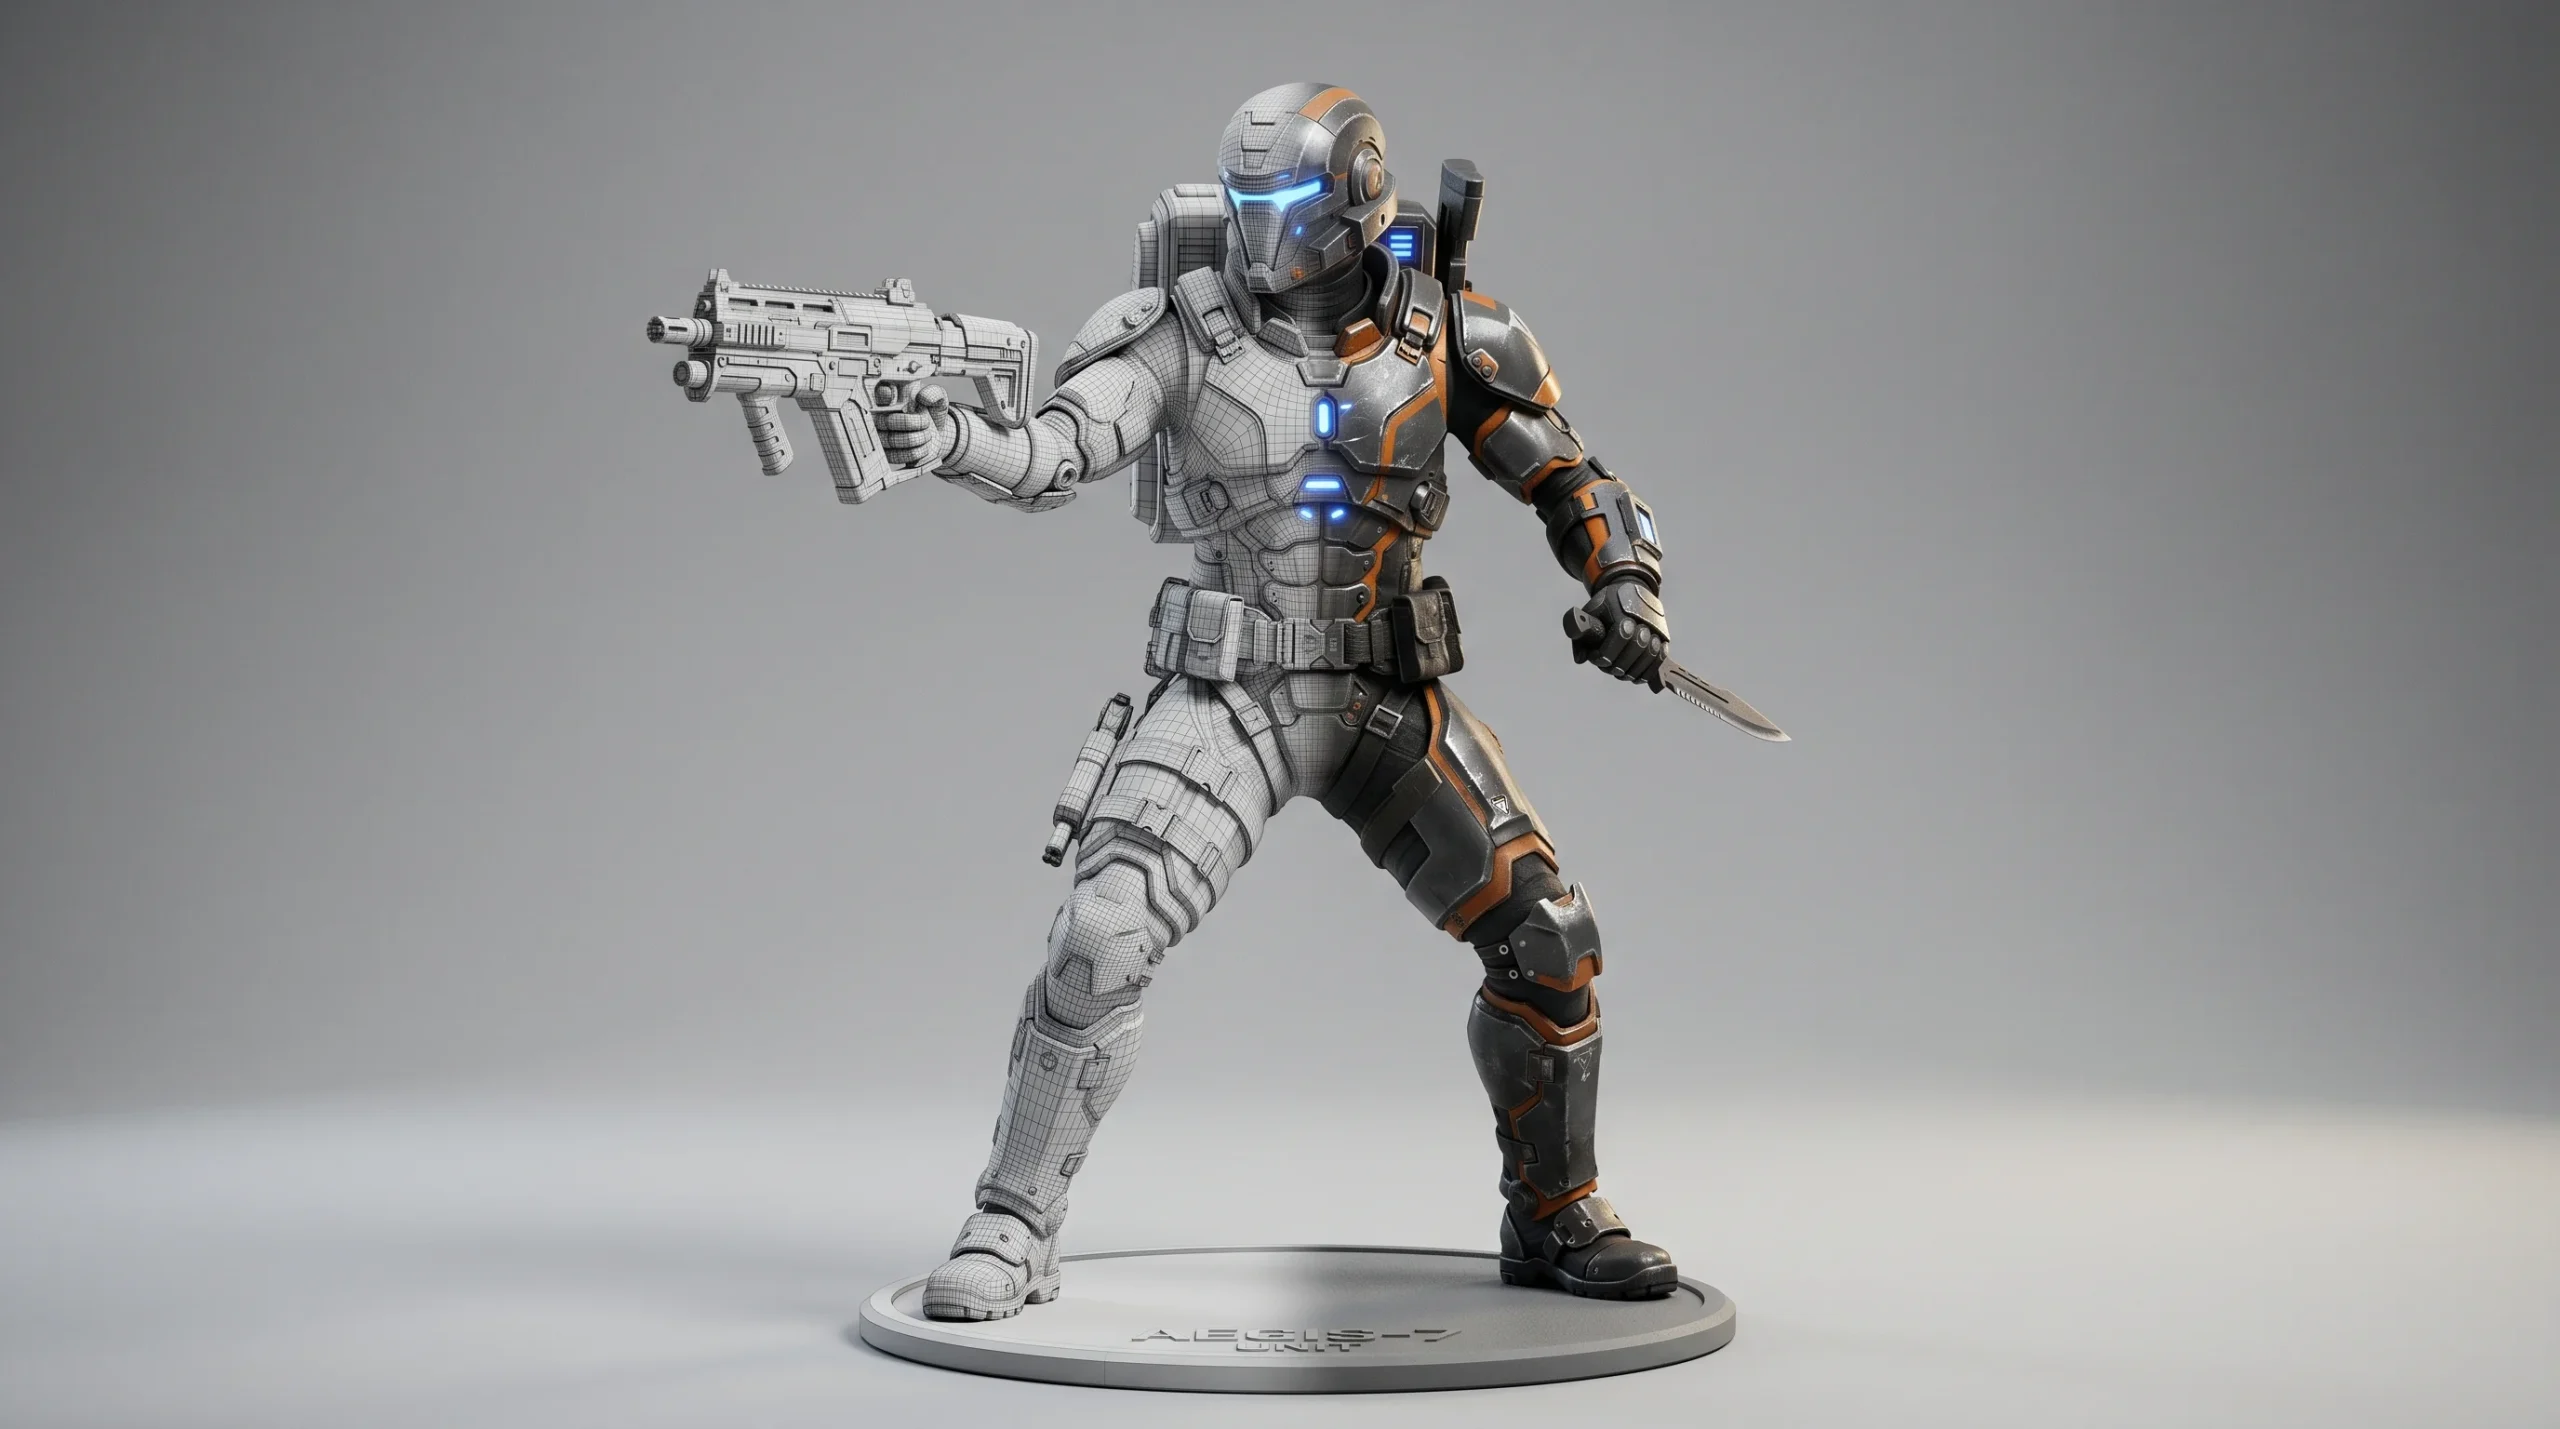
An action figure 3D model is only as good as the geometry underneath it. Smooth lines and clean silhouettes look fine on screen, but the moment a figure goes to a printer, every shortcut shows up — wall thickness fails, undercuts trap supports, joints crack at the first articulation test. The modeling stage is where most of the trouble starts, and where most of it can be fixed.
This page is about the part we actually do: sculpting and preparing the 3D geometry. We hand off print-ready files. We don’t run the printer, cast the molds, or manage a production run. If you already have a printer or a print service lined up, we sit upstream of all of that.
What we deliver when you commission an action figure 3D model
Most of the work falls into one of two buckets — modeling a brand-new character from a concept, or rebuilding an existing character from reference. Both end at the same place: a clean mesh, properly scaled, articulated where it needs to be, exported in a format your printer accepts.
- Concept-to-mesh sculpting. Working from sketches, mood boards, or written briefs to produce a high-resolution character sculpt.
- Reference-based modeling. Rebuilding a known figure or fan-made design from images and orthographic views.
- Pose blocking and articulation planning. Deciding which joints move, where the parting lines sit, and how separate pieces fit together.
- Print-prep cleanup. Wall-thickness checks, manifold geometry, support-friendly orientation, decimated meshes that don’t crash slicer software.
- Deliverables. STL, OBJ, or FBX as the primary handoff; ZBrush or Blender source files on request.
That’s the honest list. We’re a 3D visualization studio that takes on character and figure modeling as a secondary service — not a dedicated toy-design house. For collectible-grade work where the modeling itself is the entire point, there are studios that do nothing else. For projects where the figure is one piece of a larger pipeline — a marketing image, a prototype, a one-off for a presentation — we’re a sensible fit.
Software stack and why it matters
Most of the organic sculpting happens in ZBrush. Hard-surface elements — weapons, armor plates, mechanical joints — usually move into Blender or 3ds Max where boolean operations and parametric controls are less painful. SolidWorks comes in only when a figure has functional mechanical parts that need real engineering tolerances, which on action figures is rare.
The reason this matters to a client: each tool produces a slightly different mesh character. ZBrush sculpts are dense and beautiful but need retopology before they can be reliably printed at small scales. A pure subdivision-surface model from Blender prints cleanly but can look stiff in fine detail. We pick the pipeline based on the figure’s final use — a 30 cm display piece is not the same brief as a 5 cm tabletop miniature.
Where action figure 3D modeling actually goes wrong
A lot of clients arrive with files from a previous artist that won’t print. The geometry looks fine in a viewport. Then the slicer chokes, or the print comes out with hollow shells where the modeler forgot to close a hand, or the joint pegs are too thin to survive demolding. Most of these problems are not exotic — they’re standard print-prep checks that got skipped because the original sculpt was made for renders, not for printing.
Half the cleanup jobs we take on are someone else’s beautiful ZBrush sculpt that nobody bothered to retopologize. The other half are scans that were never decimated properly. Both are fixable. Neither is fast.
A short list of the things we actually check before handoff:
- Manifold (watertight) geometry, no internal faces or flipped normals.
- Minimum wall thickness appropriate to the target print resolution.
- Undercuts evaluated against the planned print orientation.
- Articulation points modeled as separate parts with sensible peg tolerances.
- Detail level matched to the figure’s final size — over-detailing a 4 cm head is wasted work.
- File size and polygon count within reasonable bounds for the slicer.
What we don’t do
This is the part where most blog posts get vague. Being explicit saves both sides time.
- We don’t print. No SLA, FDM, or MJF in-house. You take the STL to your own printer or a print bureau.
- We don’t cast molds or run production lines. Master-model engineering, silicone molds, metal tooling, injection-mold runs — that’s a toy-manufacturing pipeline and not our scope.
- We don’t paint physical figures. We can prepare per-part texture maps and color call-outs for whoever does.
- We don’t do licensing or IP clearance. If a figure is based on a copyrighted character, that’s between you and the rights holder.
STL files, scale, and the part most articles get wrong
An STL file is just triangulated geometry — it doesn’t carry units in any meaningful way, so the receiving slicer assumes millimeters by default. Almost every “my print came out tiny” or “my print came out huge” story traces back to a scale mismatch at export. We export at the intended physical scale and document it. It sounds basic. It saves a lot of phone calls.
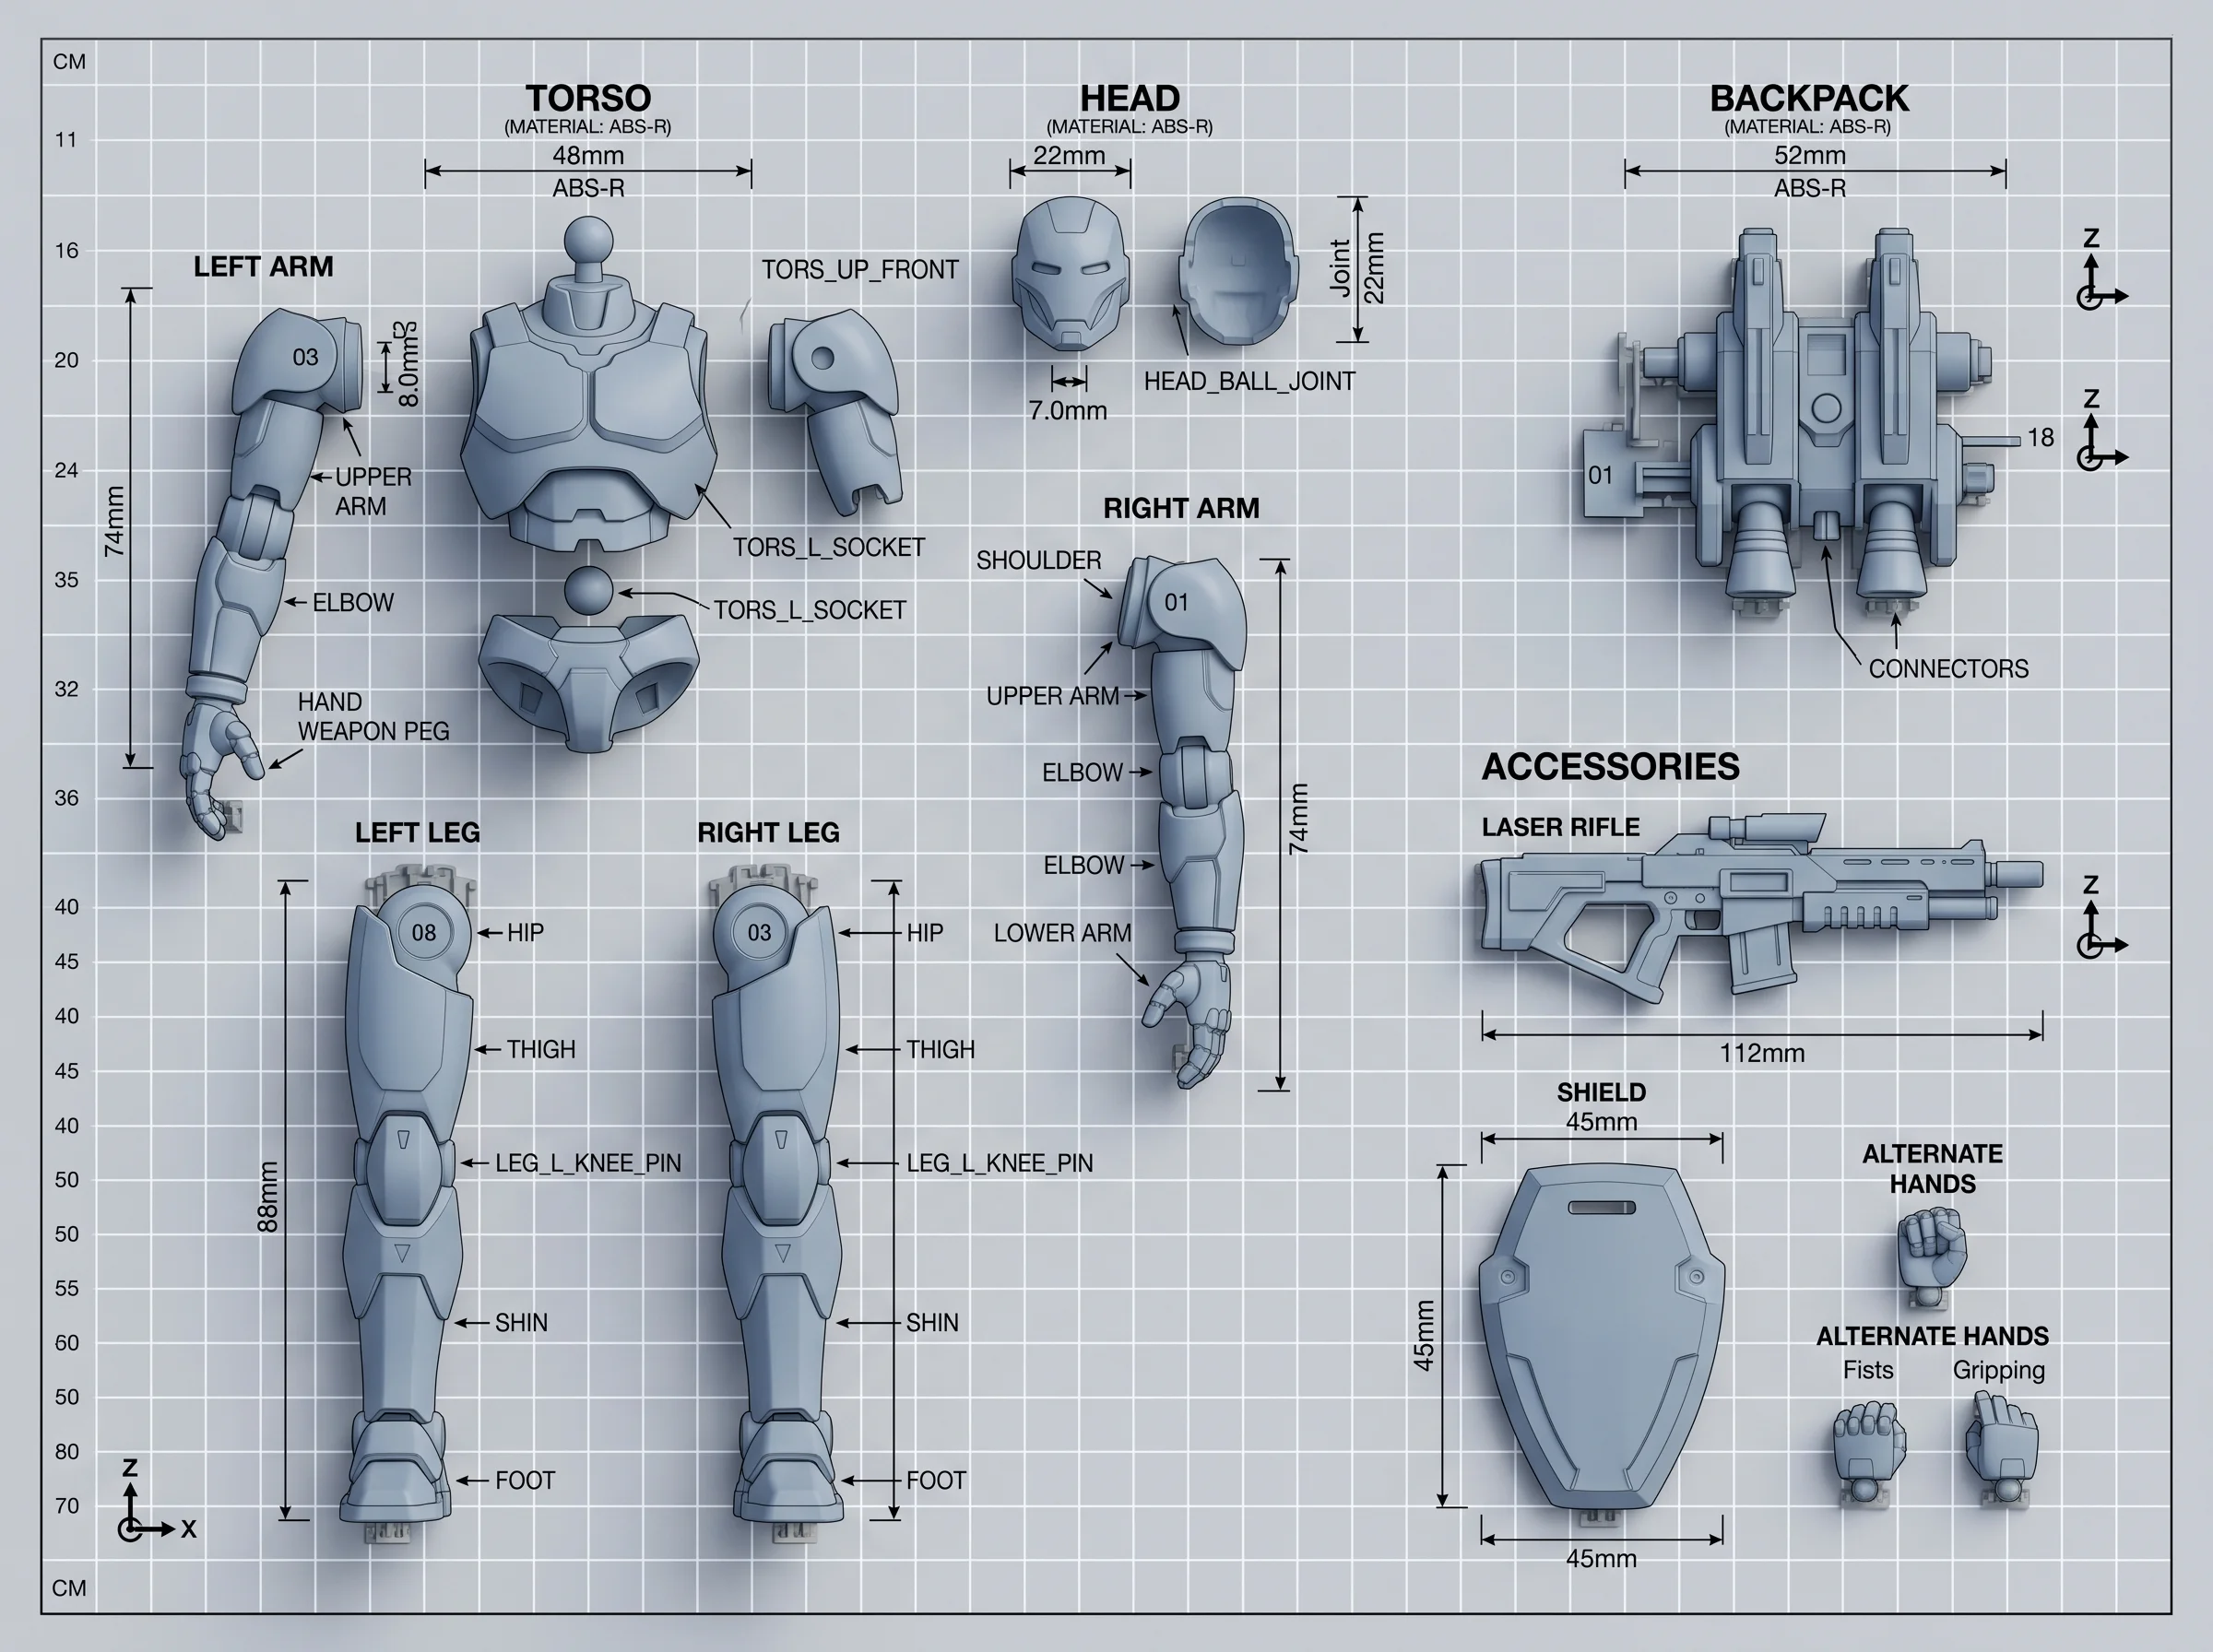
For multi-part figures, each component gets exported as its own STL with a parts list and an assembly diagram. For figures meant to be printed as one piece, we orient the mesh for the most plausible support layout and flag any geometry that’s going to be a problem. We don’t slice the file ourselves — that’s your printer’s job — but we leave it in a state where slicing isn’t a guessing game.
When this service makes sense for you
Realistic candidates: a small studio prototyping a character for a Kickstarter, a content creator who wants a one-off figure of their own character, a games or animation project that needs physical promo figures alongside the digital deliverables, a product designer working out a toy concept before committing to production tooling. We’ve also done figure modeling as part of larger visualization briefs — for example, when a 3D product visualization project needs custom character props in the scene.
Less realistic candidates: a high-volume toy company looking for ongoing in-house figure design, or a project where the modeling itself is the entire commercial value. For those, a dedicated character-figure specialist is the better call.
If your project also needs marketing renders or animation around the figure — beauty shots, turntables, packaging visuals — that we can do in the same engagement. Static product renders and short animation work are well within the studio’s core capabilities, and combining them with the modeling brief usually shortens the schedule.
How we typically scope a figure project
Three things drive the estimate: how complex the character is, how many separate articulated parts it has, and whether we’re working from a finished concept or designing the character from scratch. A reference-based bust of a single character is straightforward. A poseable, multi-part articulated figure designed from a few sketches is a different kind of project — more iterations, more conversation, more rounds of pose blocking before the detail sculpting even starts.
We tend to break the work into a sculpt phase and a print-prep phase, with a review at the end of each. That way nobody discovers at the end that the silhouette is wrong or that the articulation scheme won’t work.